Trinka AI User Manual
User Manual
How to sign up on Trinka AI
How to activate Trinka Institutional Access
Enhancing Grammar using Trinka AI:
Edit your file using the Proofread file feature
Paraphrase text in your file using Trinka AI
How to install Trinka Plug-ins and Add-ins
How to generate AI Content detector reports
Additional notes
How to sign up on Trinka AI
All academicians, students, lecturers, and professors from University Name can avail premium access to Trinka AI writing assistant by following the steps given below.
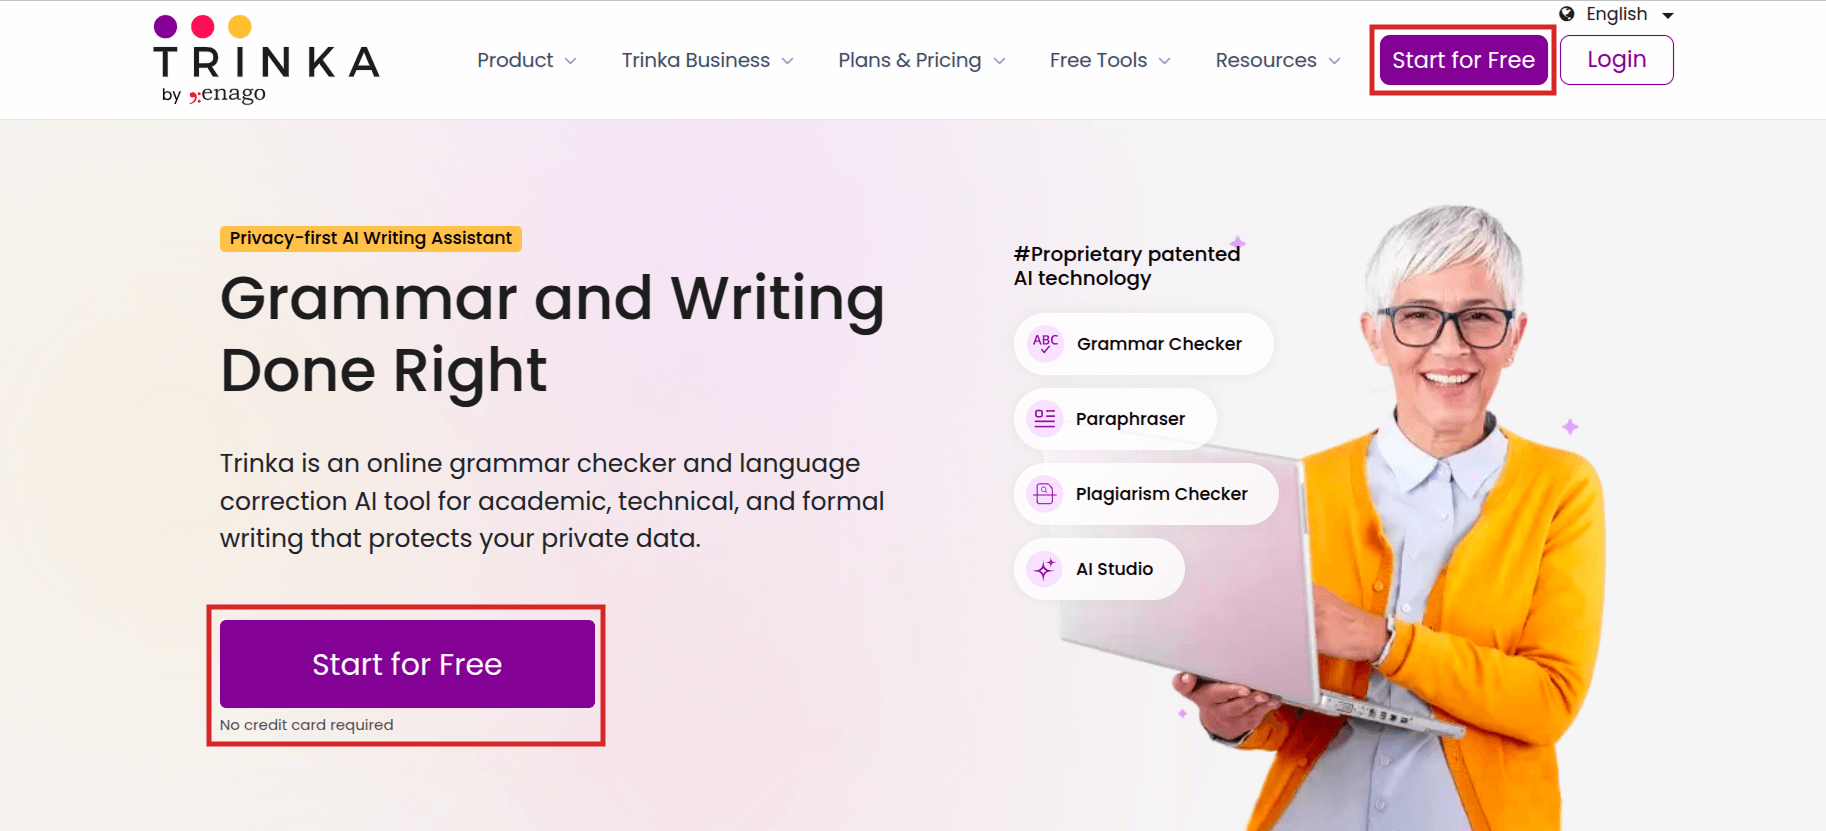
Step 1: Go to https://www.trinka.ai/
Step 2: Click on ‘Start for Free’ appearing on the web page as below:
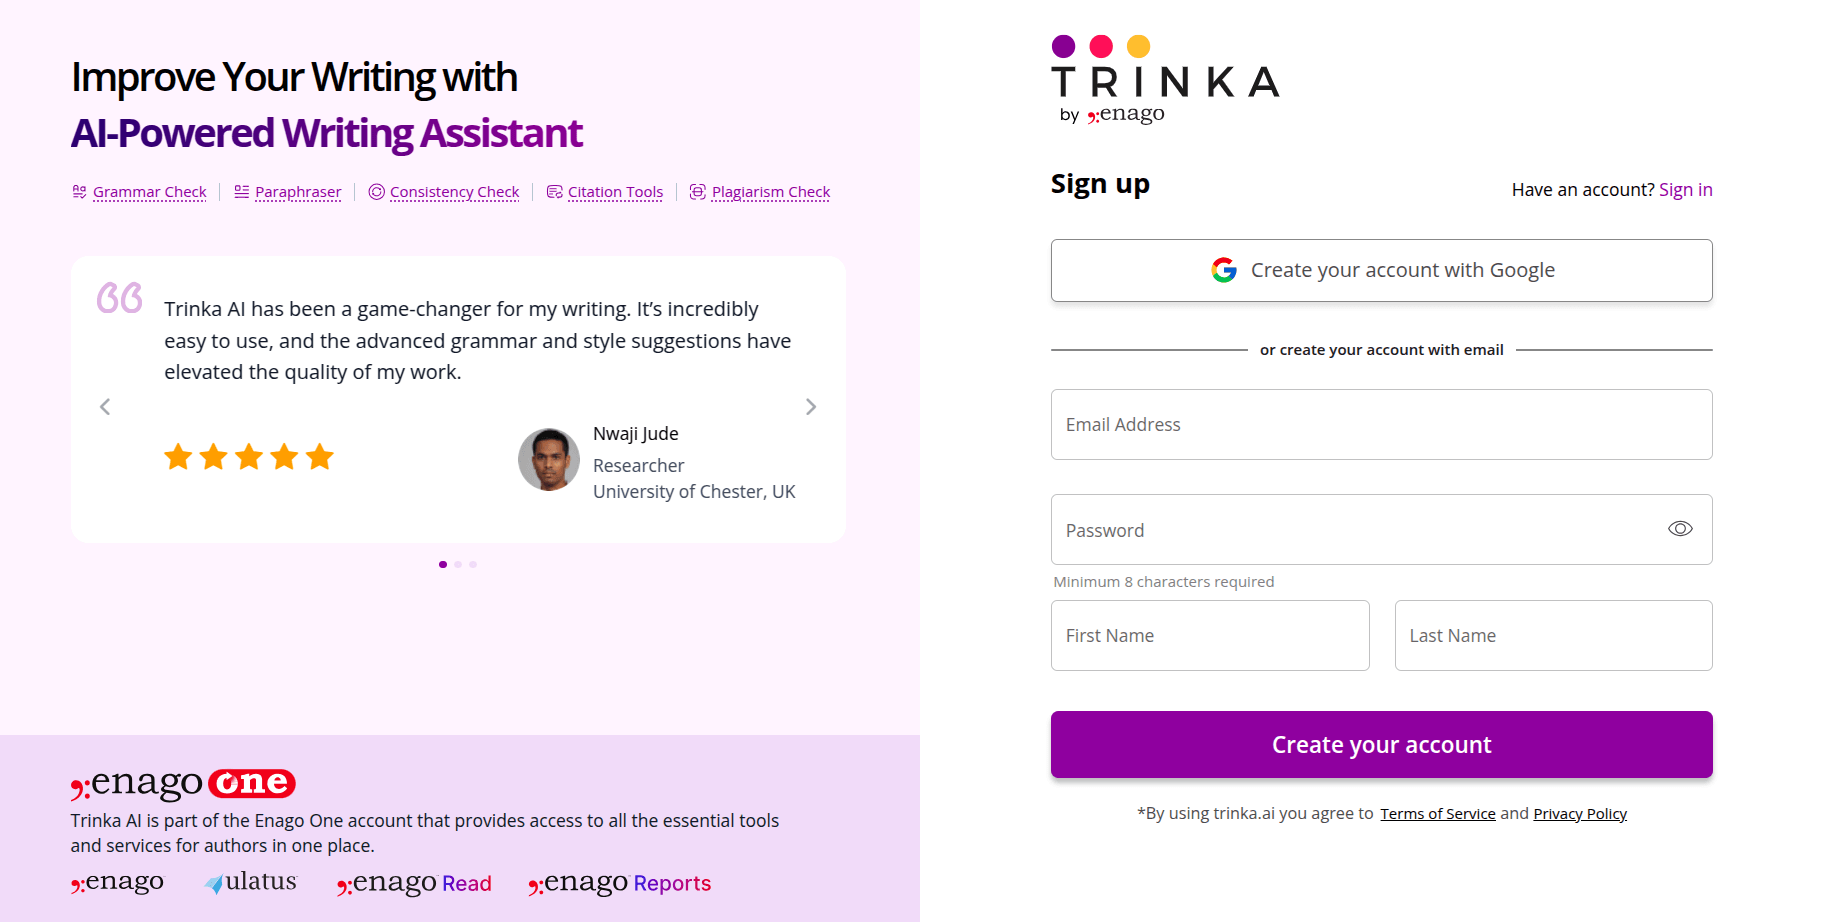
Step 3: Register on Trinka
Use your university domains (University Authorized Domain) to create an account. Please ensure that you are using email IDs having your university domain as this is necessary for enabling your access to Trinka Institutional Plan.
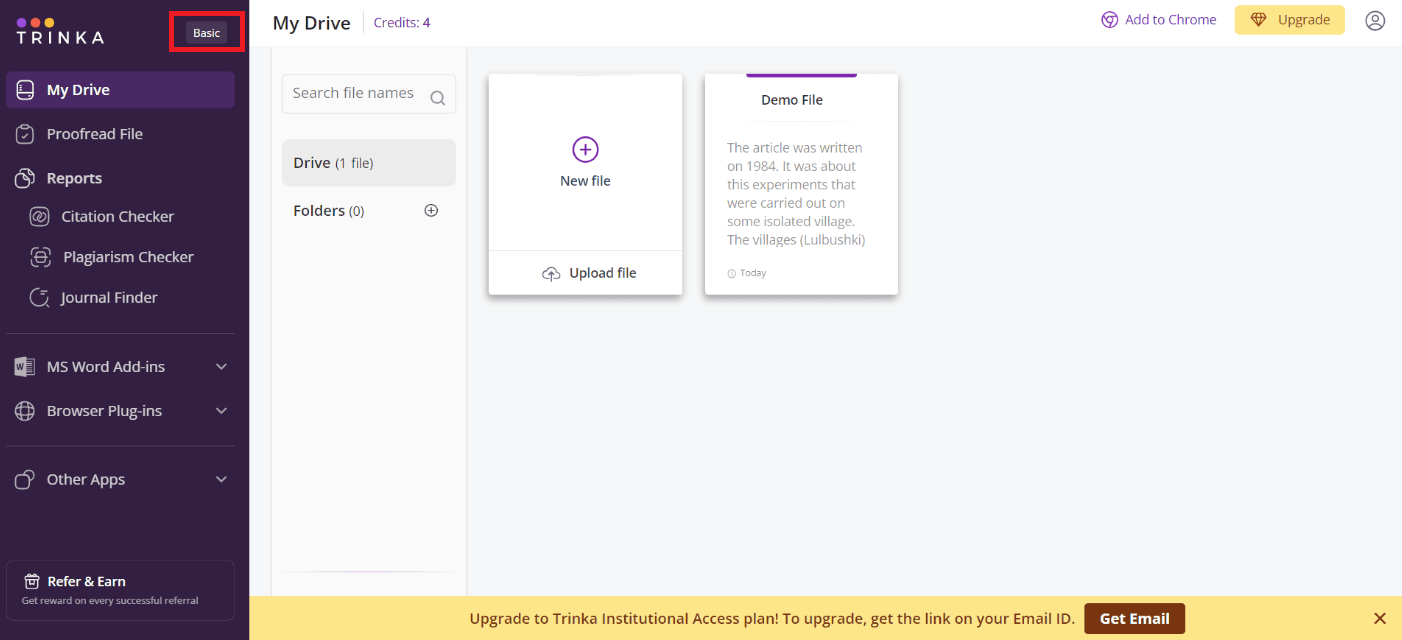
As a new user, you will be signed in as a Basic user. As you can see the basic tag in the image below on the left menu. As a Basic user, you will have a monthly quota of processing 5000 words on Trinka. The detailed process for upgrading to Trinka Institutional Access has been covered in the next section.
How to activate Trinka Institutional Access
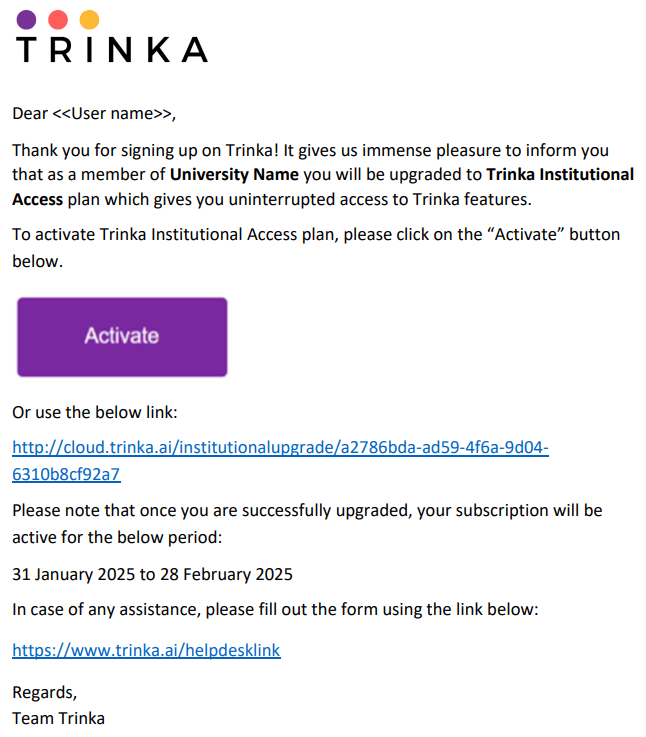
Process to activate Trinka Institutional Access: Once you have successfully registered on Trinka, you will receive an email with the subject “Activate Trinka Institutional Access!”
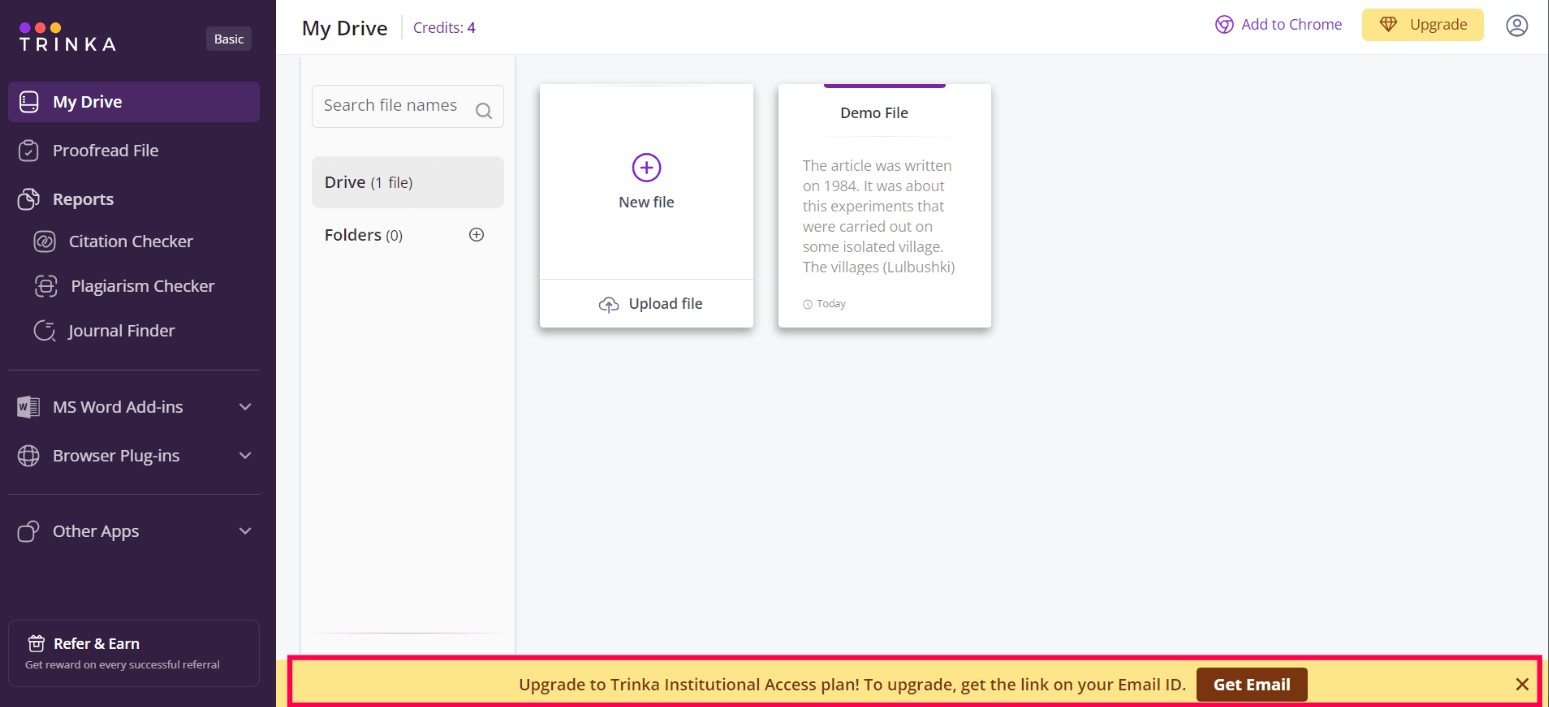
Note: The below notification will appear until you complete the process to activate ‘Institutional Access’ on your account. You can click on “Get email” if you have not received an activation email.
Once you receive the email, please follow the below steps:
Step 1: On the email, click on the button saying “Activate”, if the button isn’t visible, you can click on the link provided below the button:
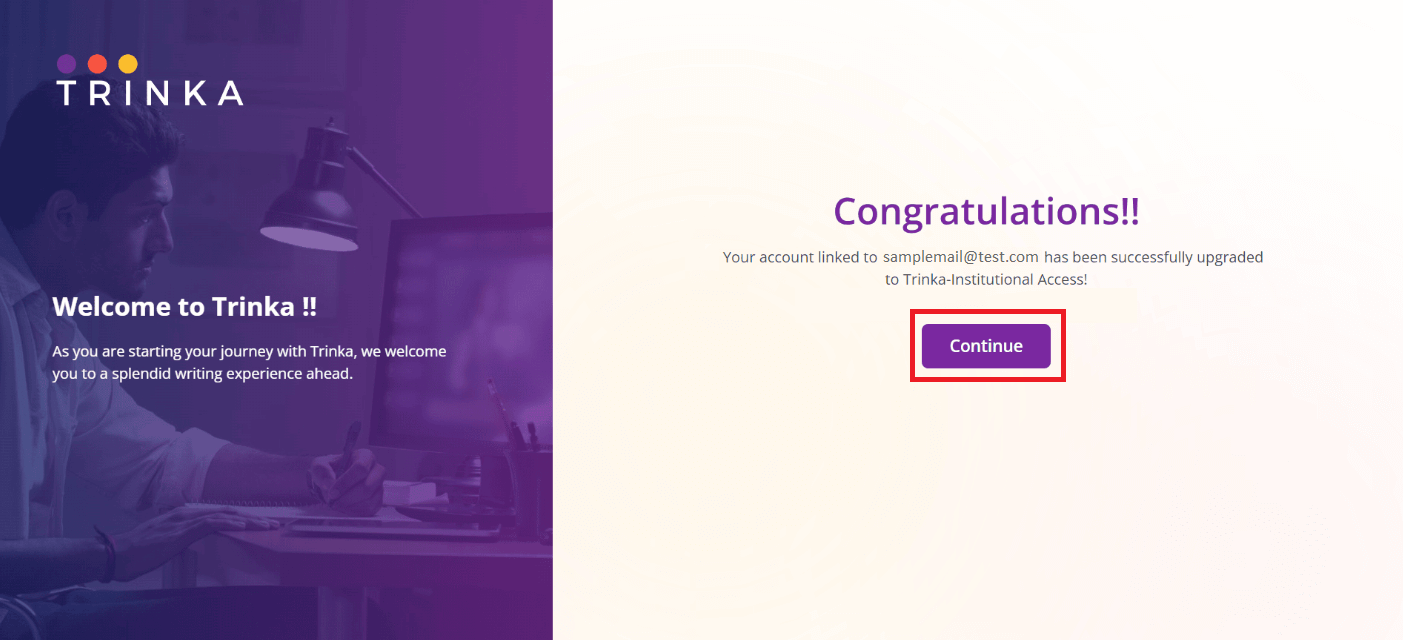
Step 2: Upon clicking on the link/button you will be redirected to a page displaying a confirmation message regarding successful upgrade. Click on the “Continue” button. You will be re-directed to Trinka’s login page. Enter credentials and log in to Trinka.
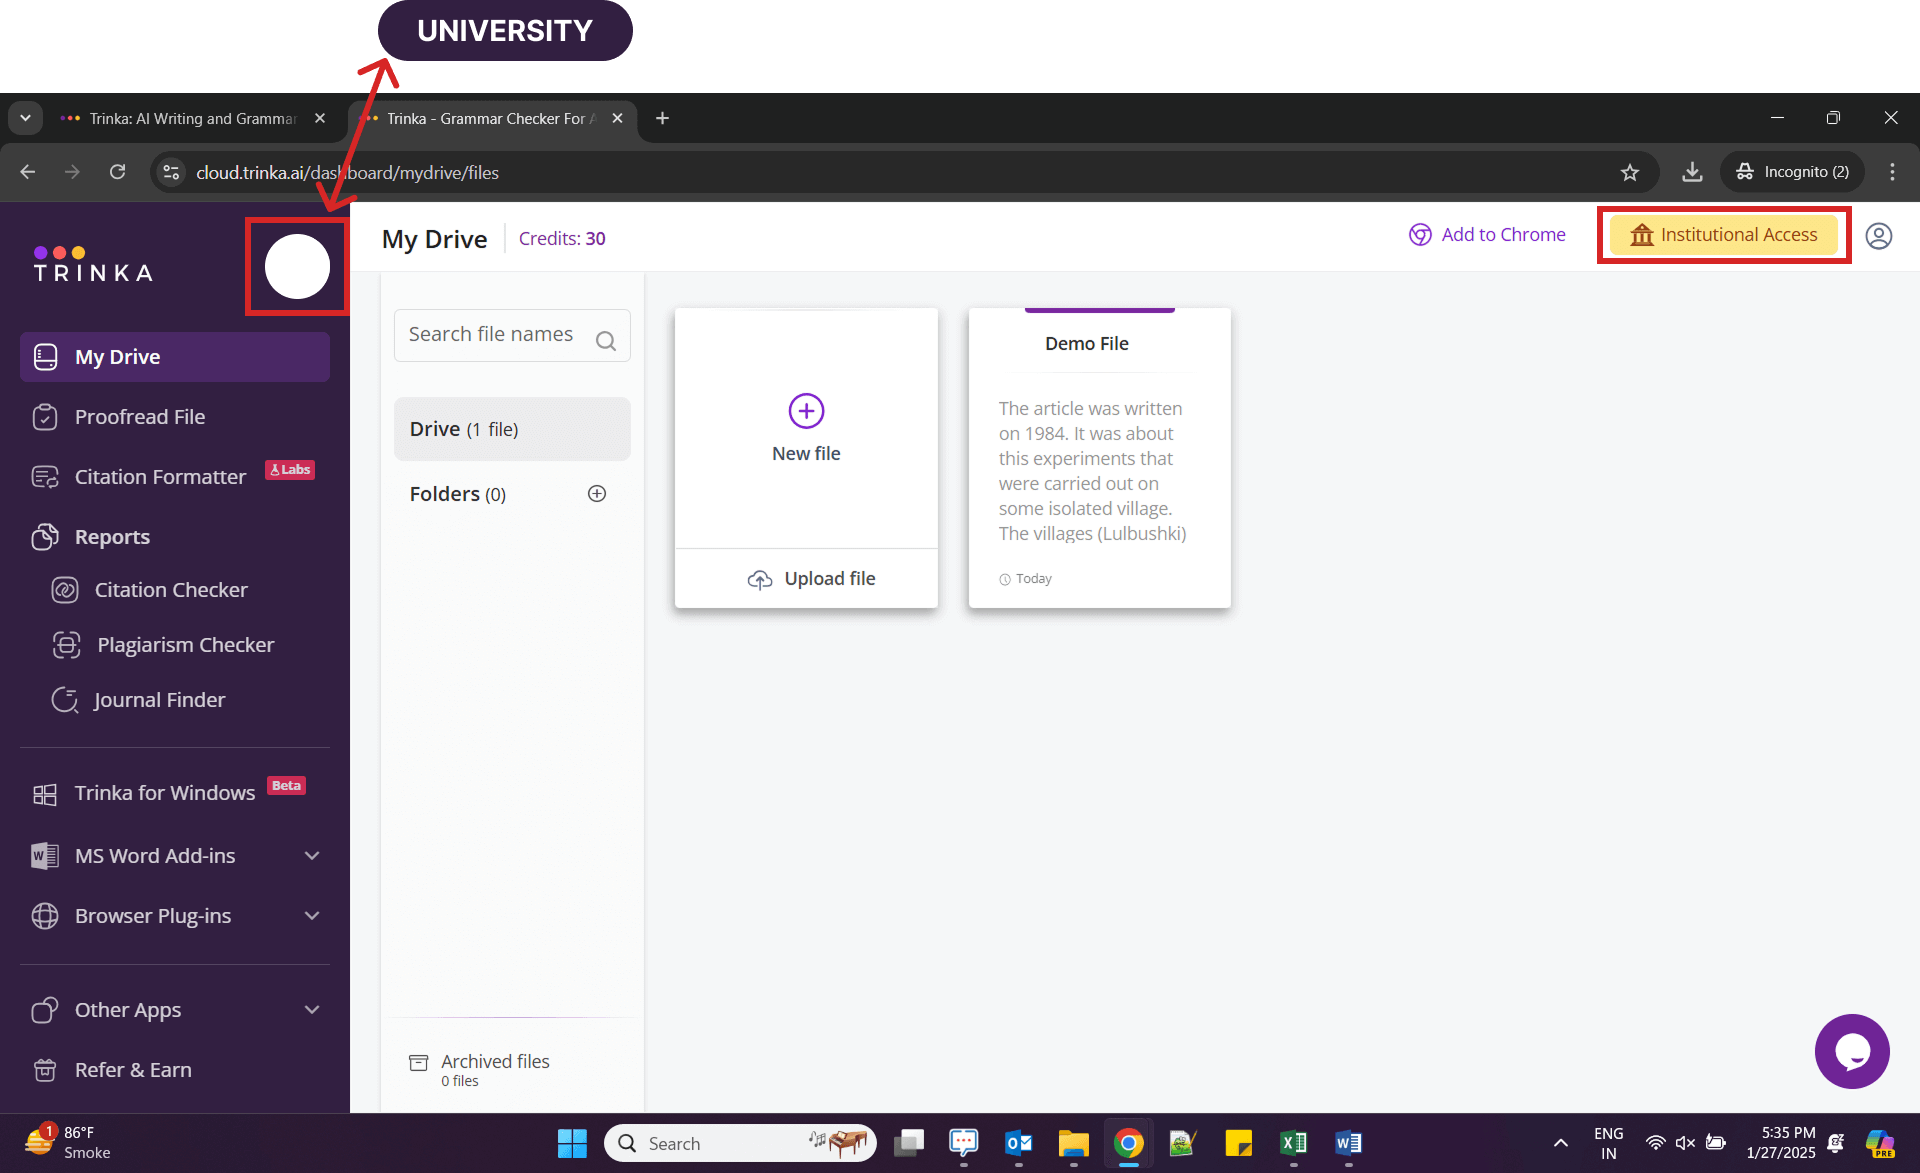
Step 3: As the account is upgraded to “Institutional Access”, you will see your university logo on the top left, which represents your Institutional Access subscription to Trinka.
How to use Trinka Cloud Editor
Once you have registered on Trinka AI, you will be automatically signed in and can start using Trinka. If you have logged out of Trinka, you can login by visiting https://cloud.trinka.ai/signin and entering your email address and password.
Once logged in, you will be on ‘My Drive’. On this page, you will be able to access all files that you create or upload on Trinka.
From My Drive, you can do the following:
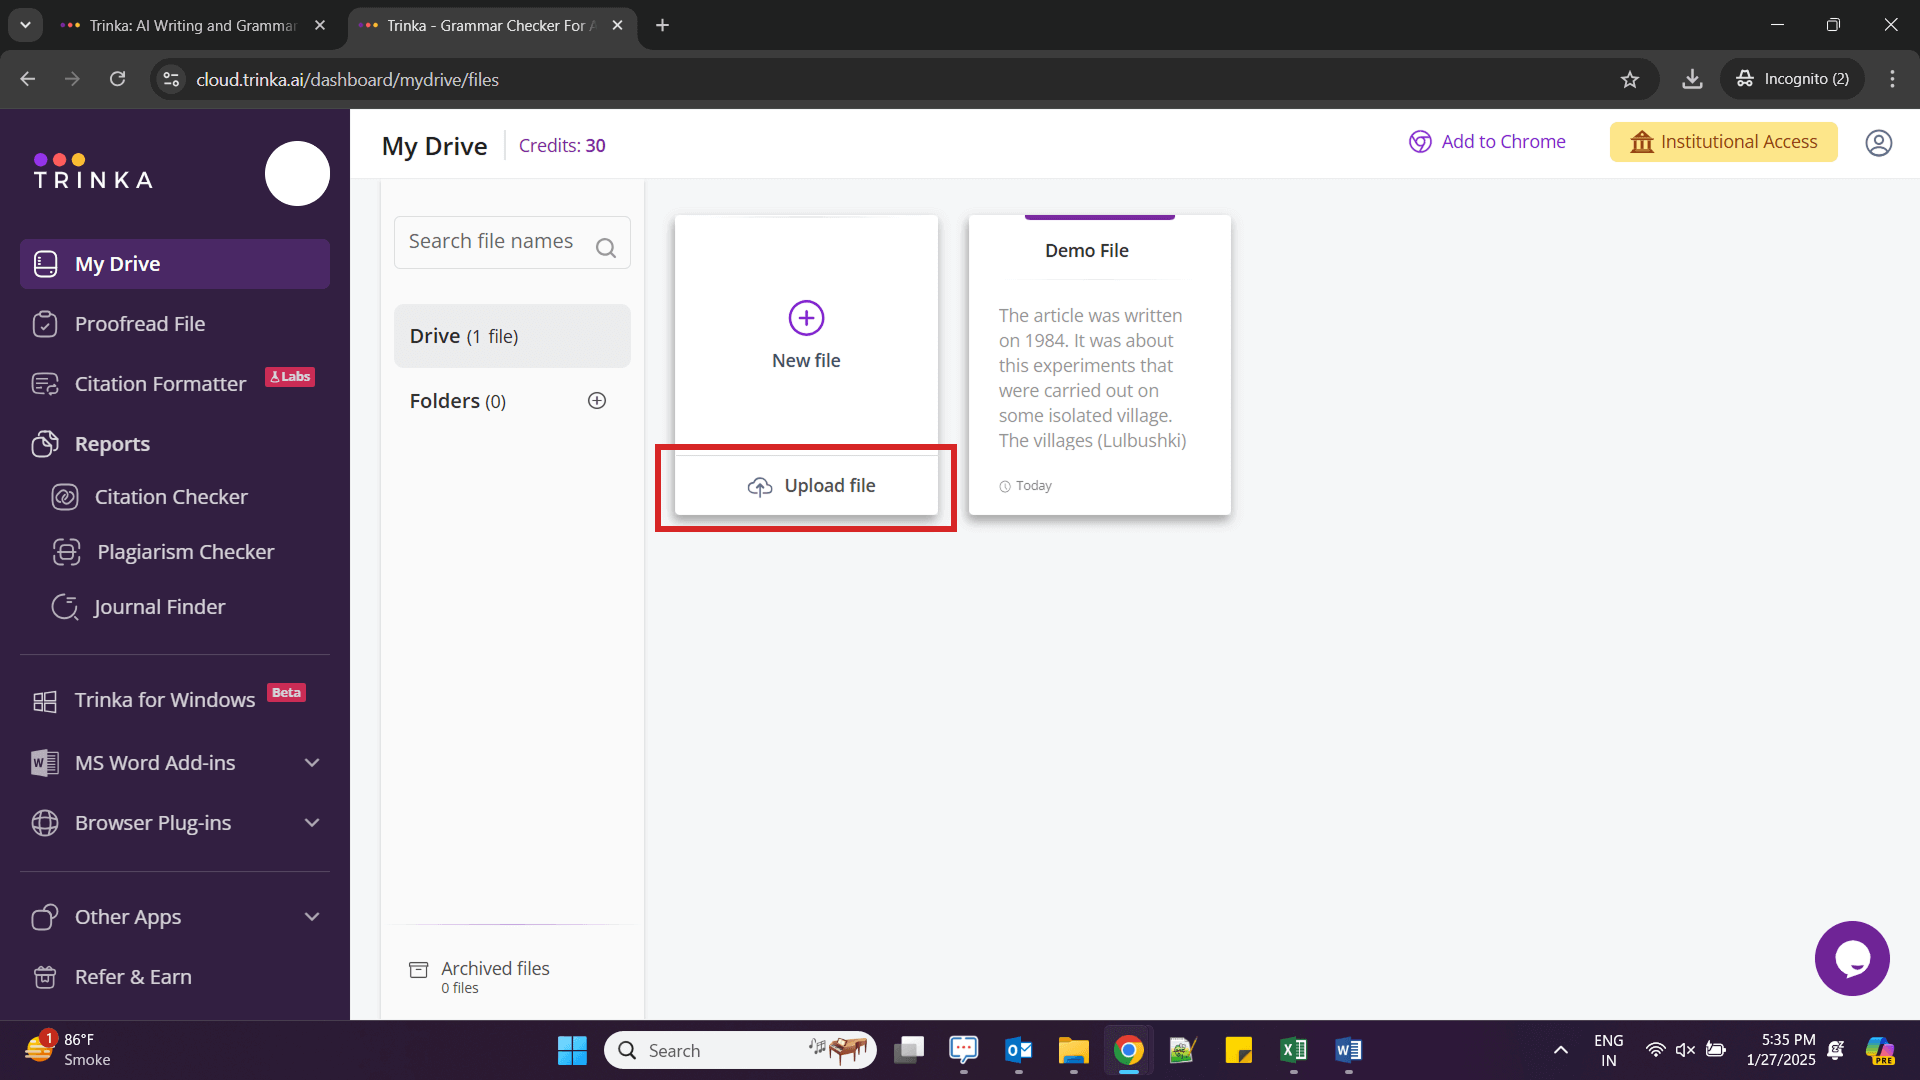
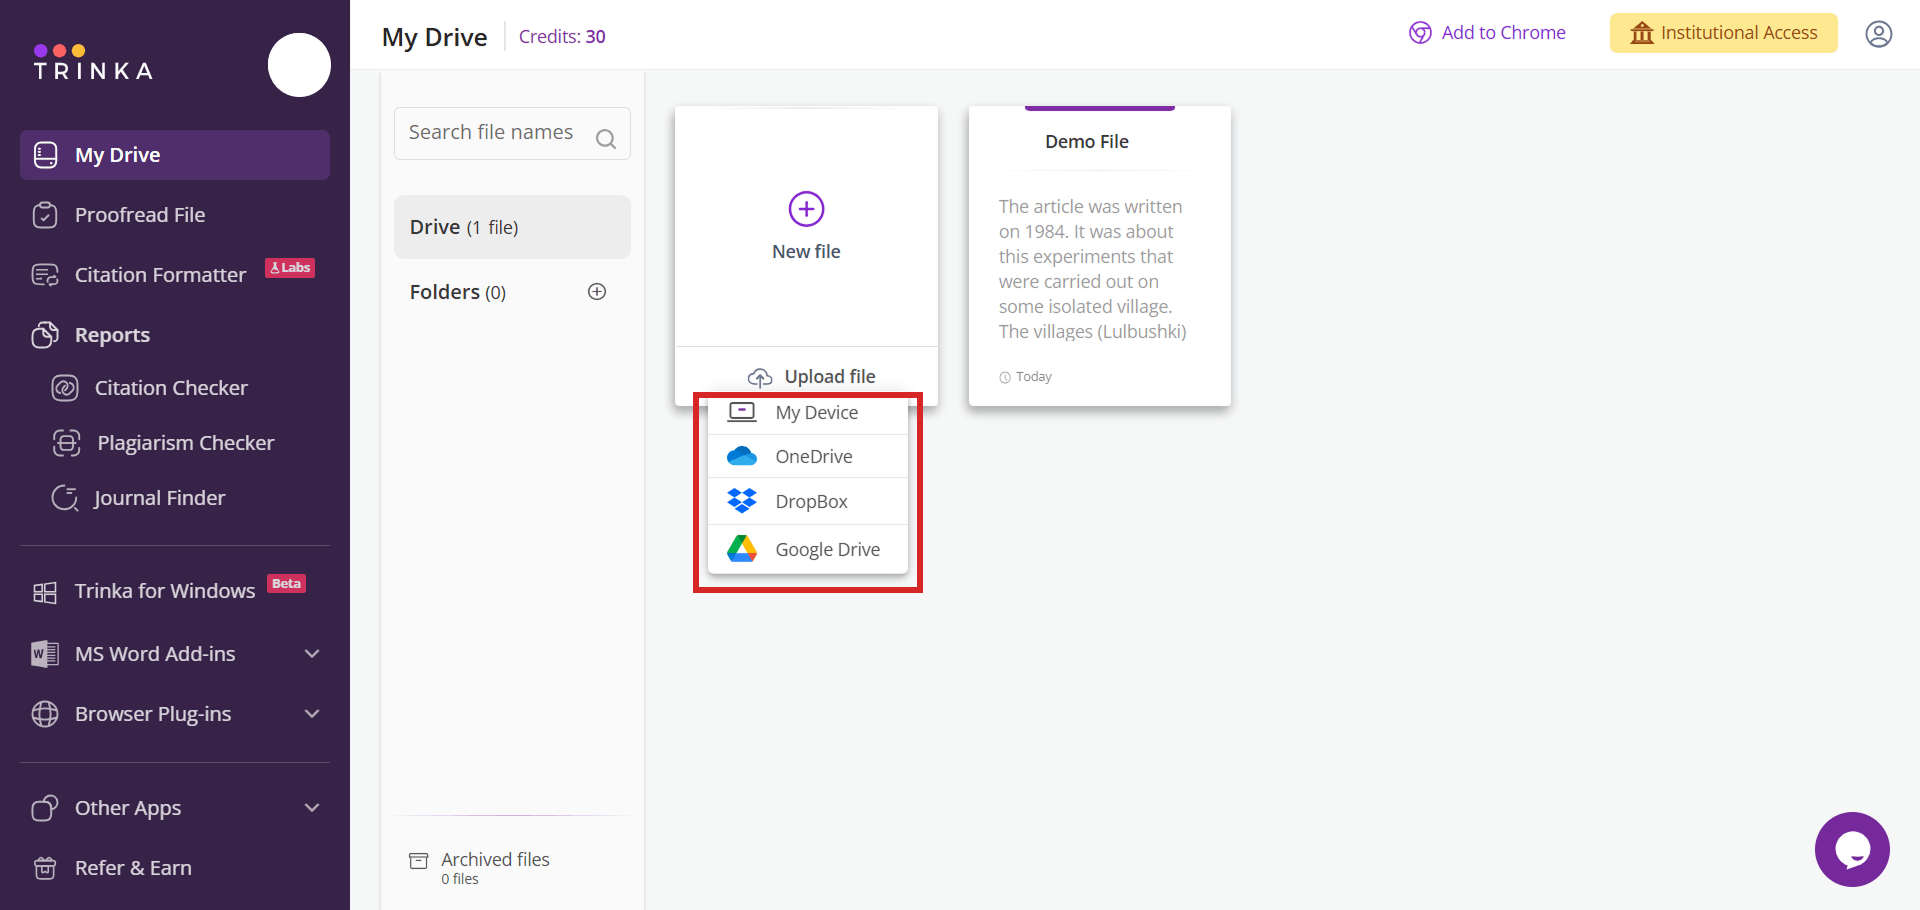
Step 1: Upload a file from your system, OneDrive, Dropbox, or Google Drive:
i) Click on “Upload file”
ii) Click on any one of the options and upload your file
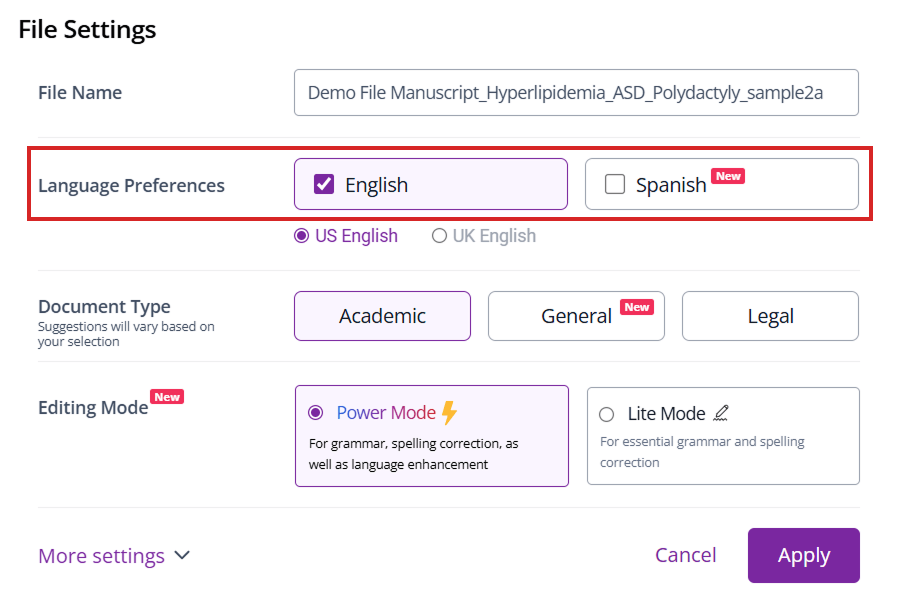
On successfully uploading a file, you will get a dialogue box containing options to select language preferences, document type, style guides etc. as below:
iii) Select preferences and click on “Save and proceed”

iv) Your file will open up in the editor as shown below:
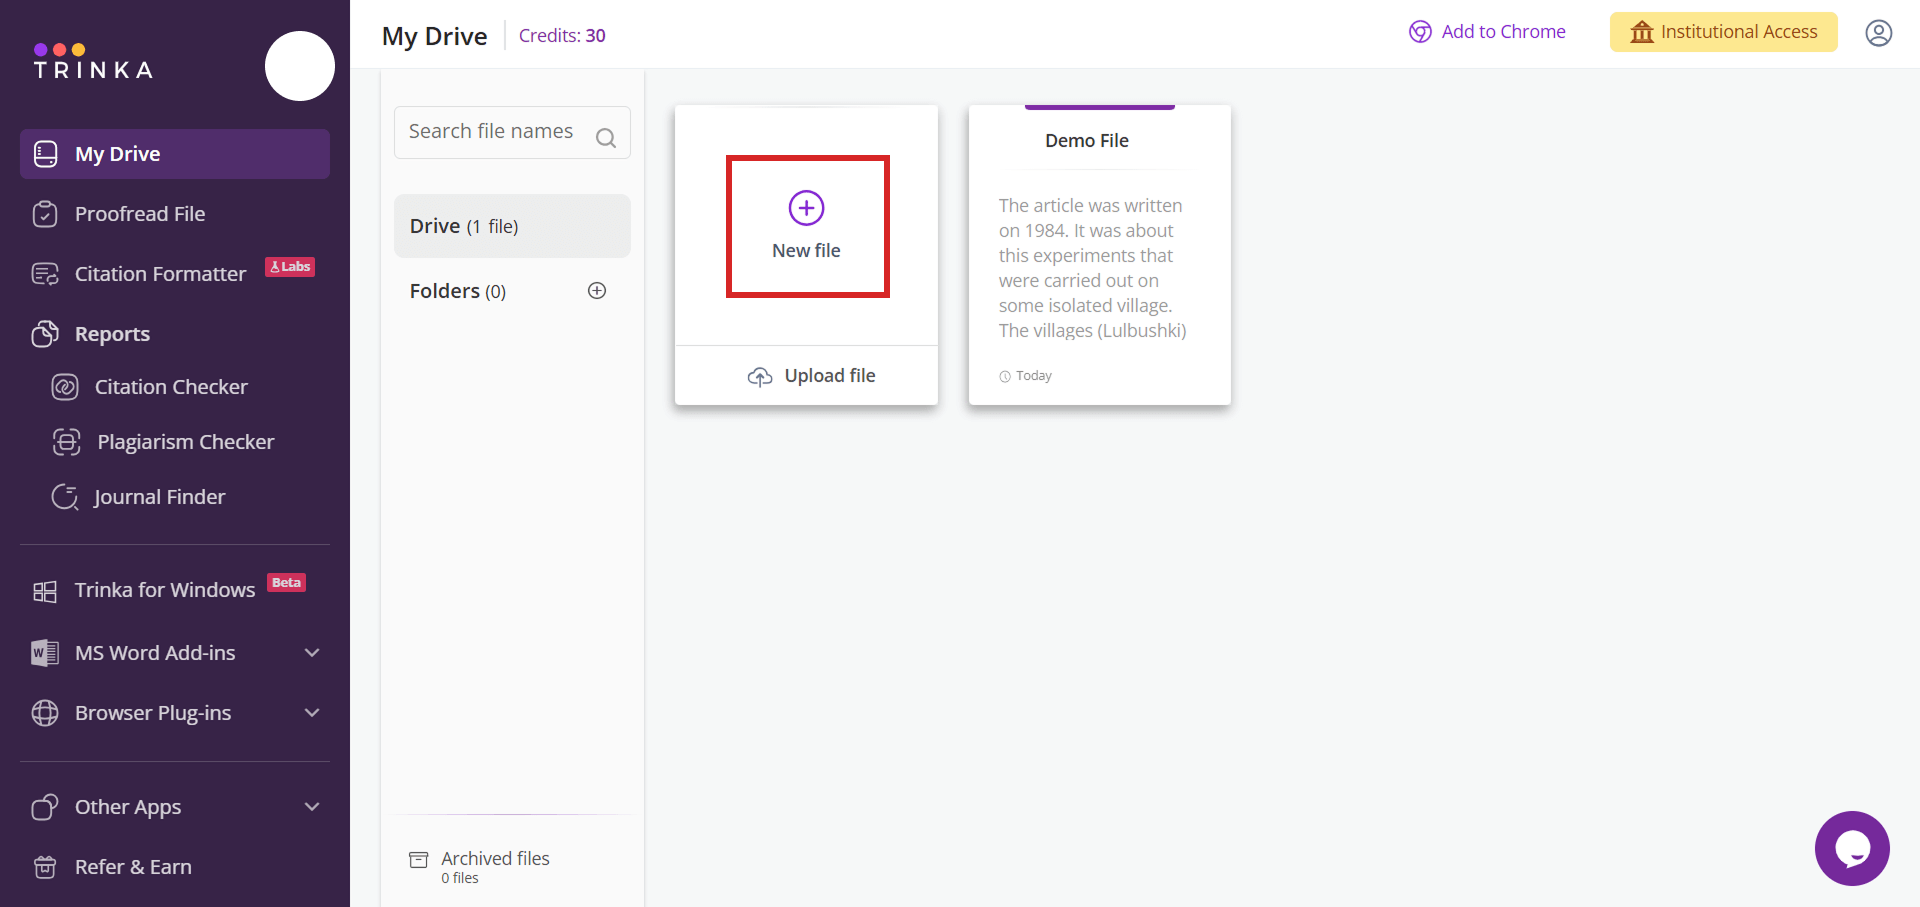
Step 2: Start writing on Trinka’s Cloud editor by creating a new file:
i) Click on the “+” icon above “New file” to create a new file
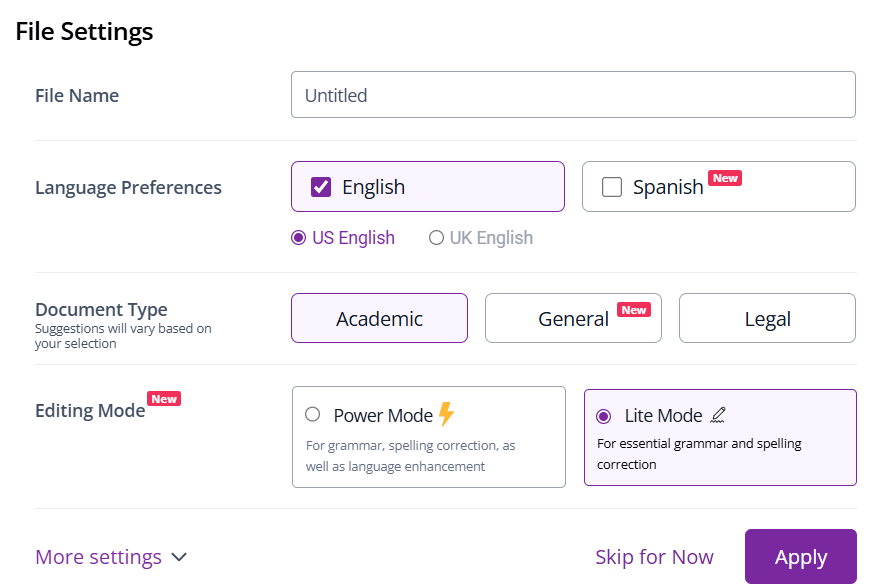
You will get a dialogue box containing options to select language preferences, document type, style guides etc. as shown below:
ii) Select preferences and click on “Save and proceed”
iii) A new file will open up as shown below:
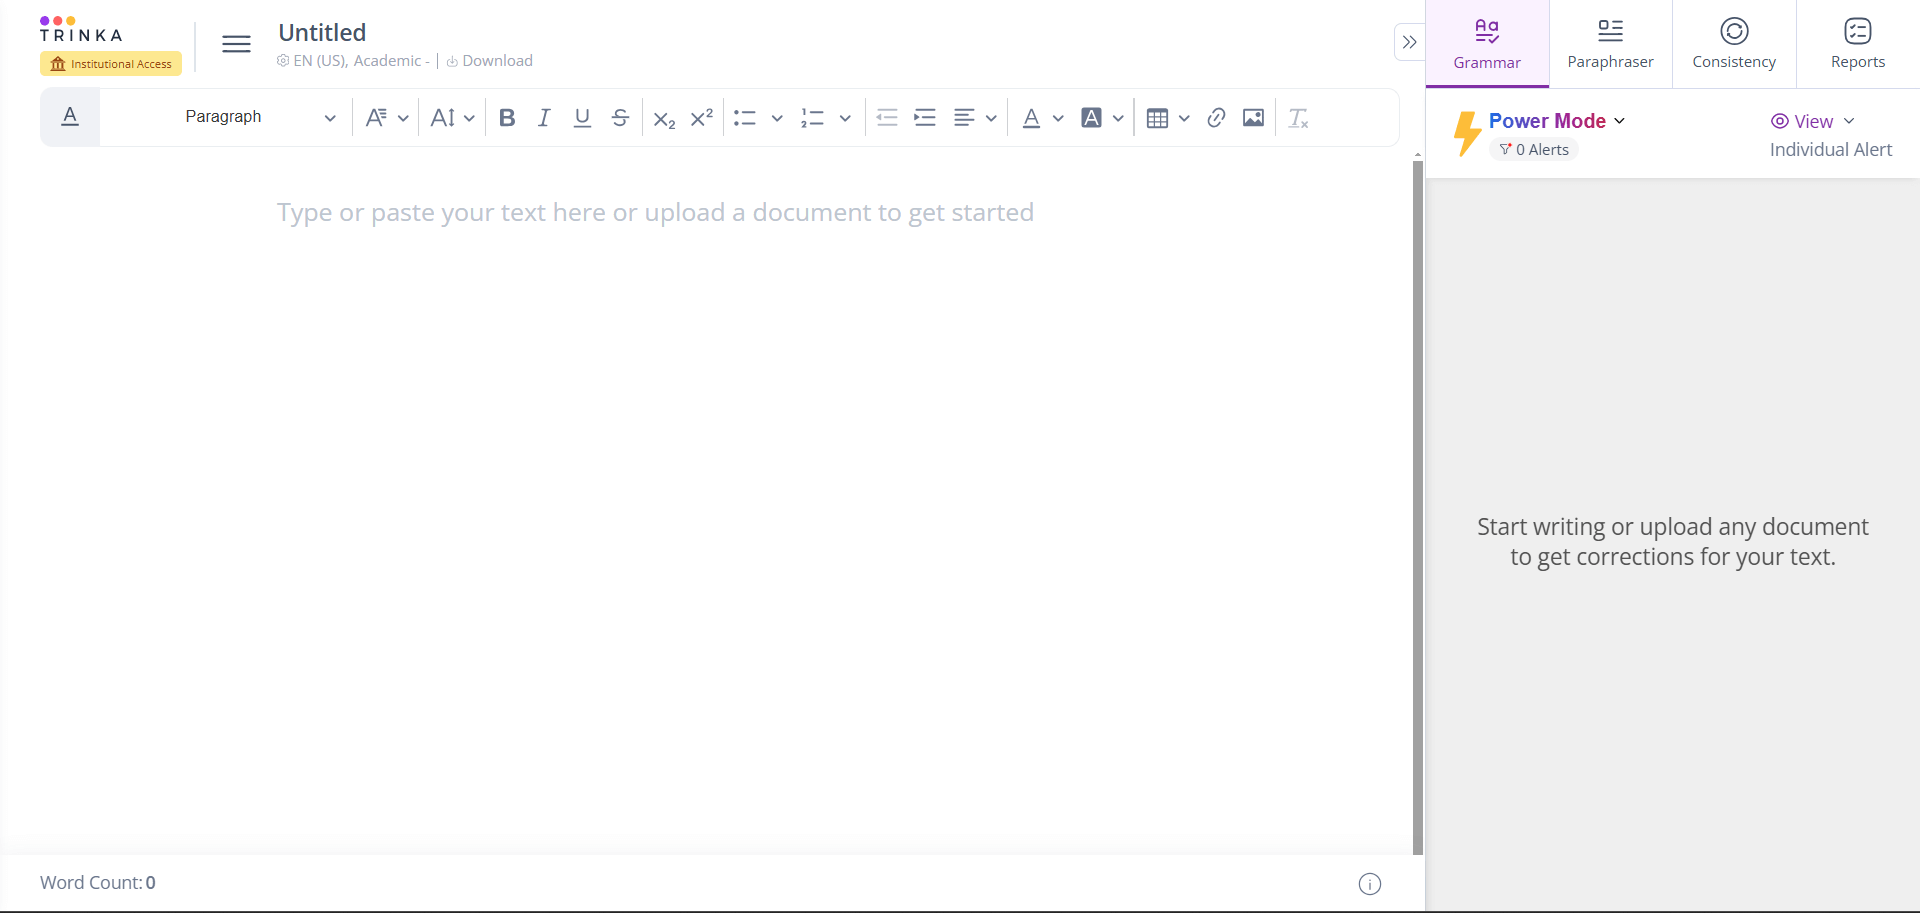
Edit your file using Trinka Cloud Editor
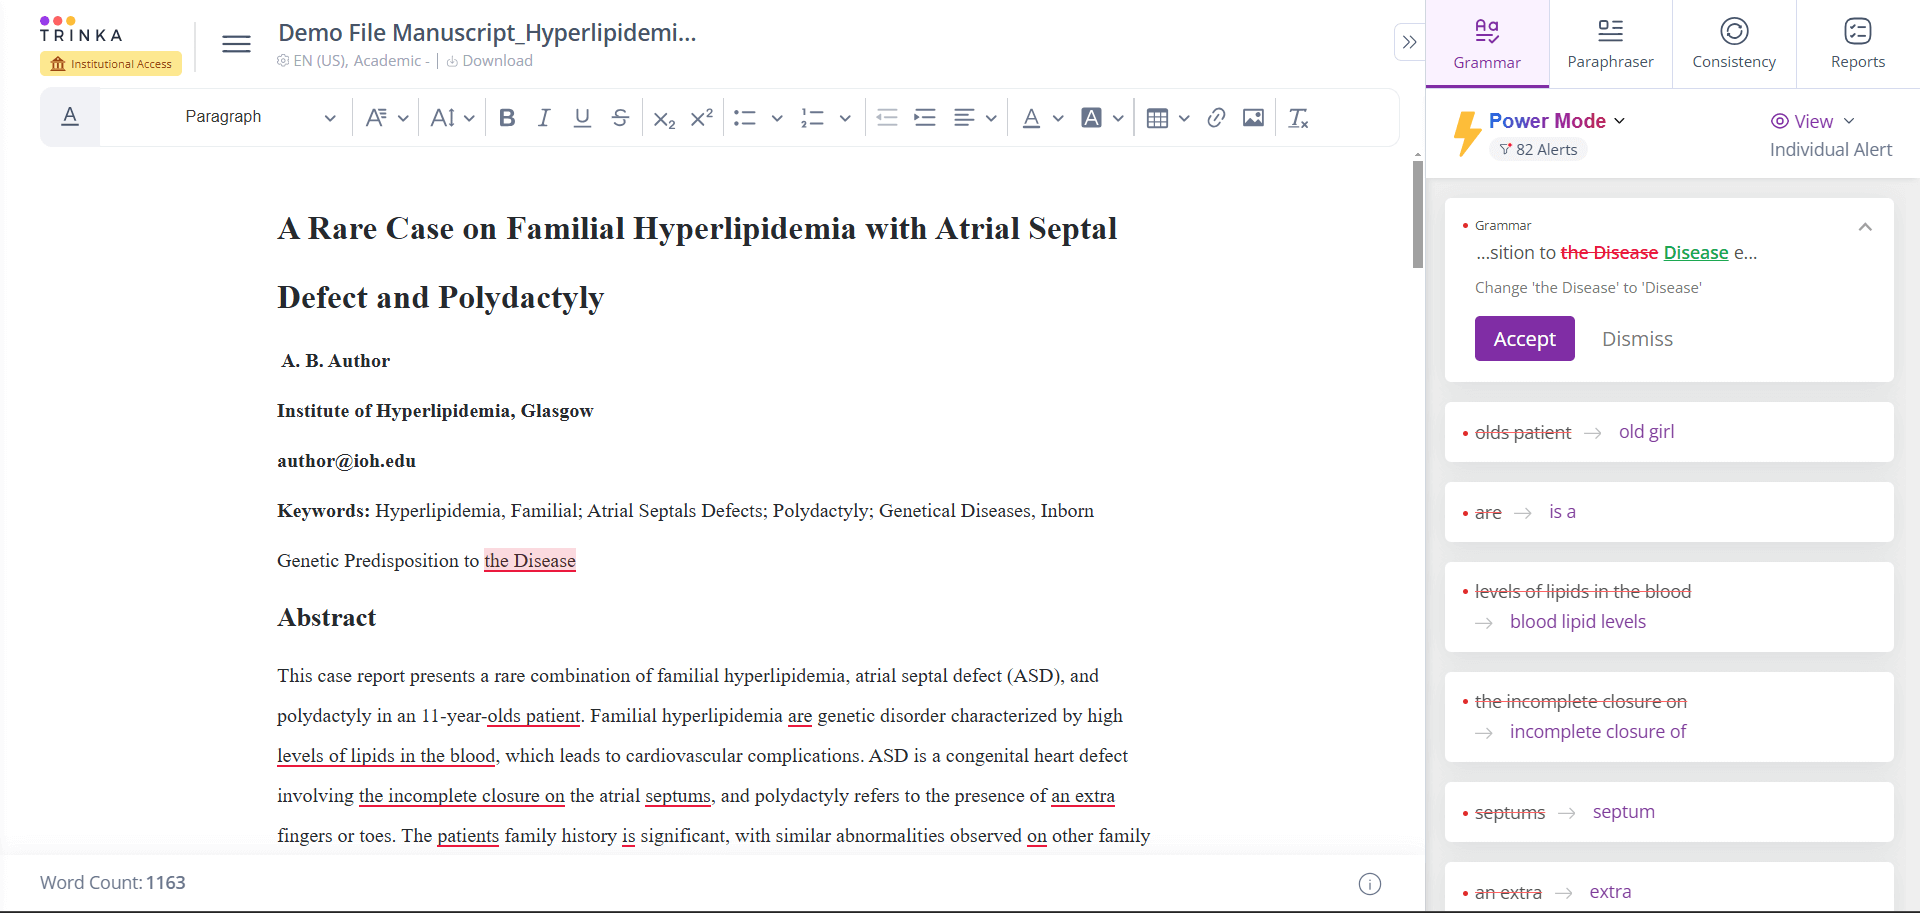
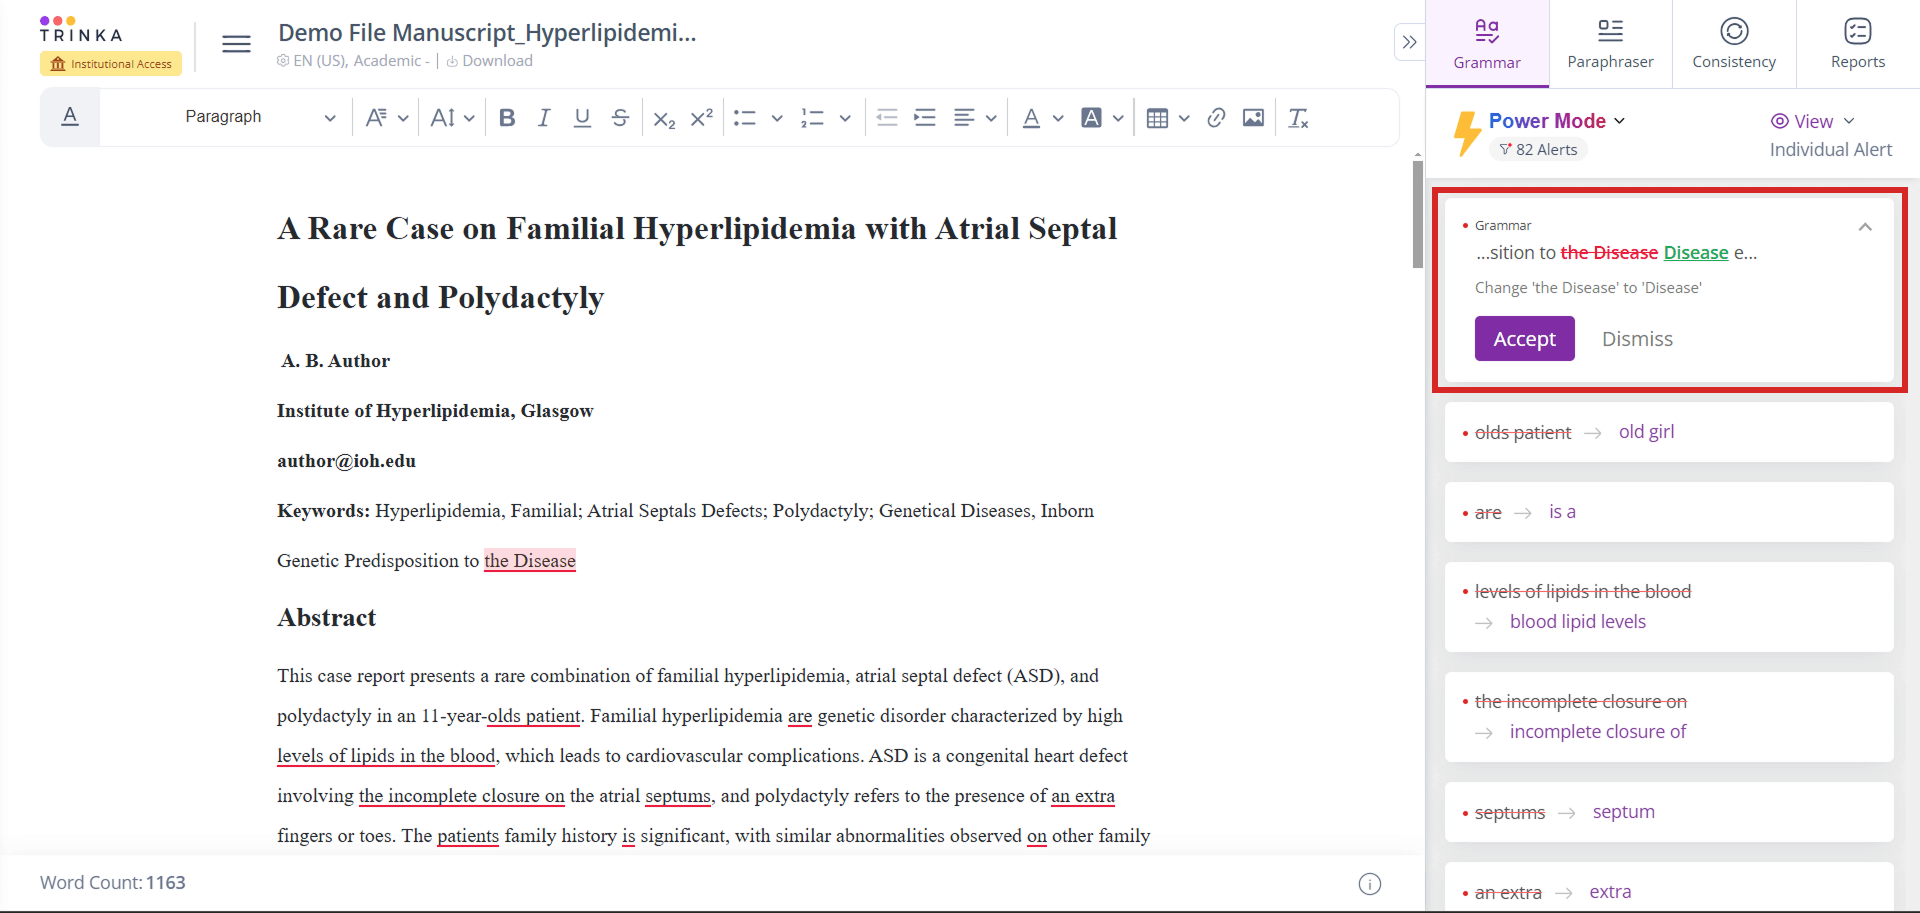
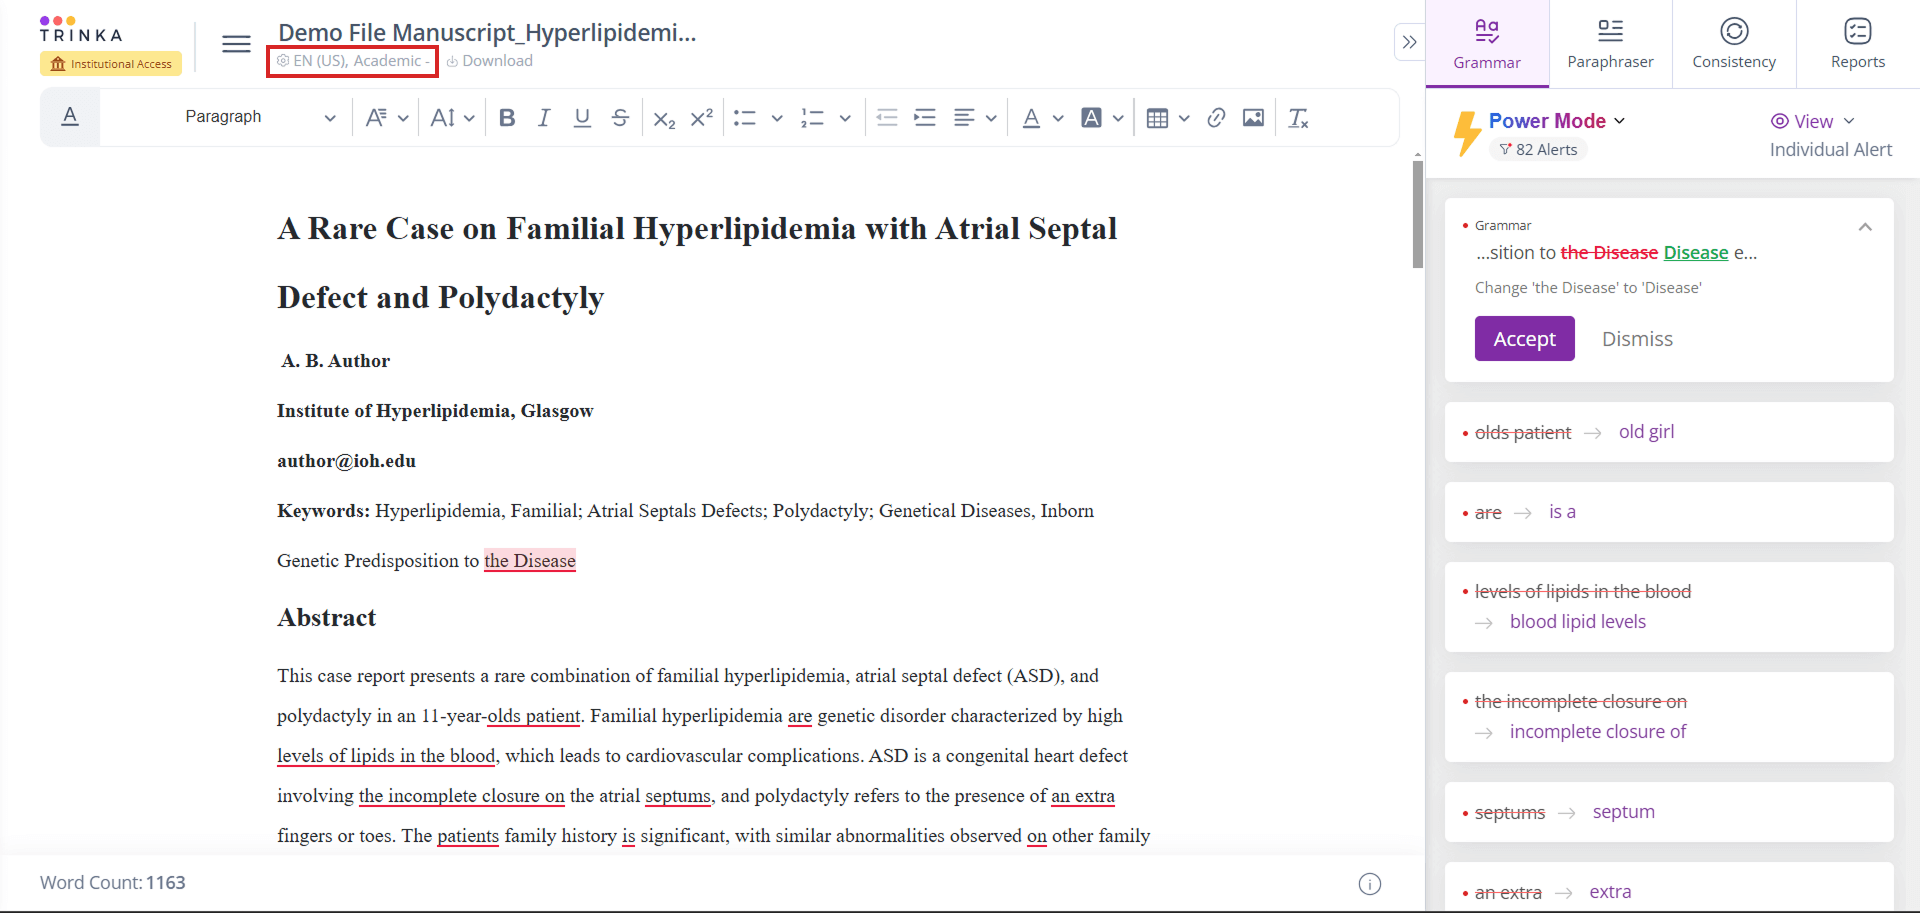
Once your file opens up in the cloud editor, Trinka AI will process your text and provide suggestions to improve the writing. The text for which suggestions have been given will be underlined and the suggestion cards will be visible on the right panel. You will be able to accept/reject the grammar suggestions. In the editor, the default check will be “Grammar”.
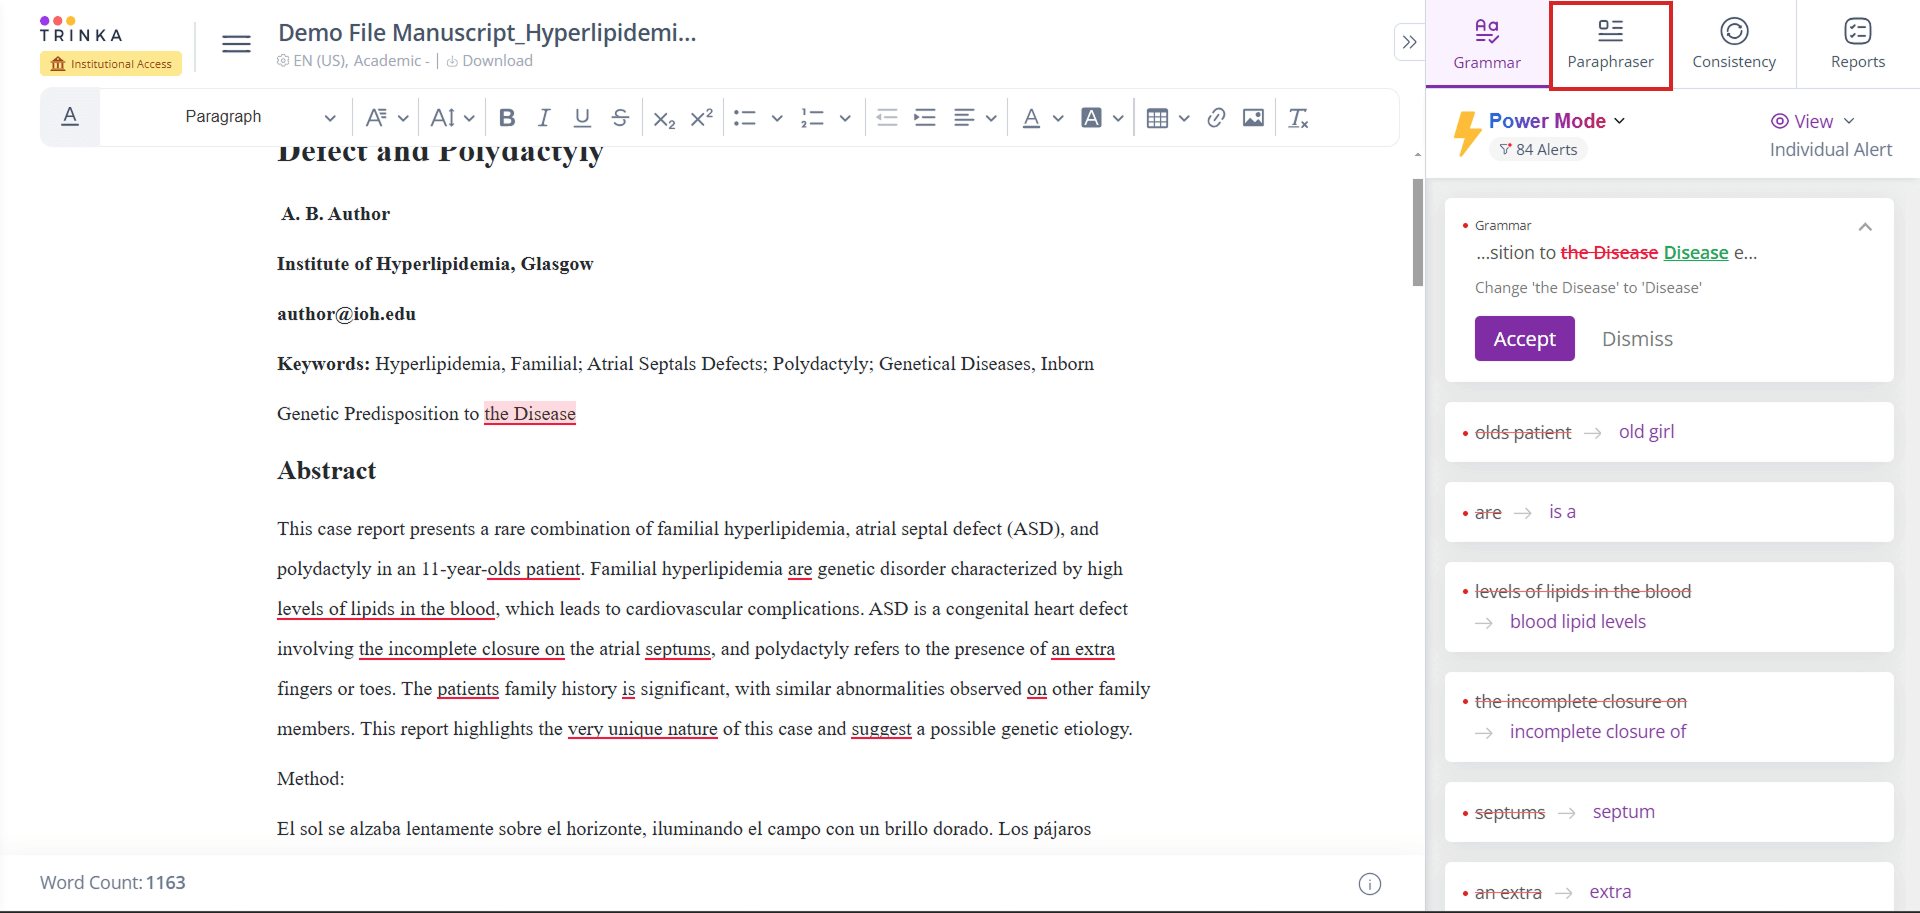
Step 1: Expand a suggestion card on the right panel to view the suggestion. It will appear as shown below:
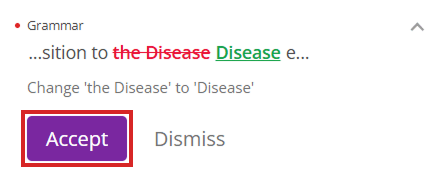
Step 2: You can “accept the suggestion” by clicking on “Accept” button. After accepting the suggestion, the text is replaced in the file with the suggestion:
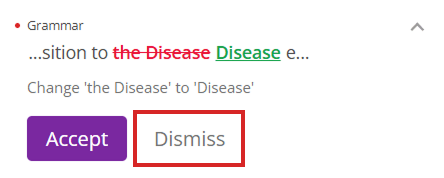
Step 3: You can “reject a suggestion” by clicking on “Dismiss” button. After rejecting a suggestion, the text in your file will remain as is:
Step 4: If necessary, you can change the “Document Style” using the respective option on the top menu:
Step 5: If necessary, you can change the language from the dialogue box by selecting your preference as shown in the image below:
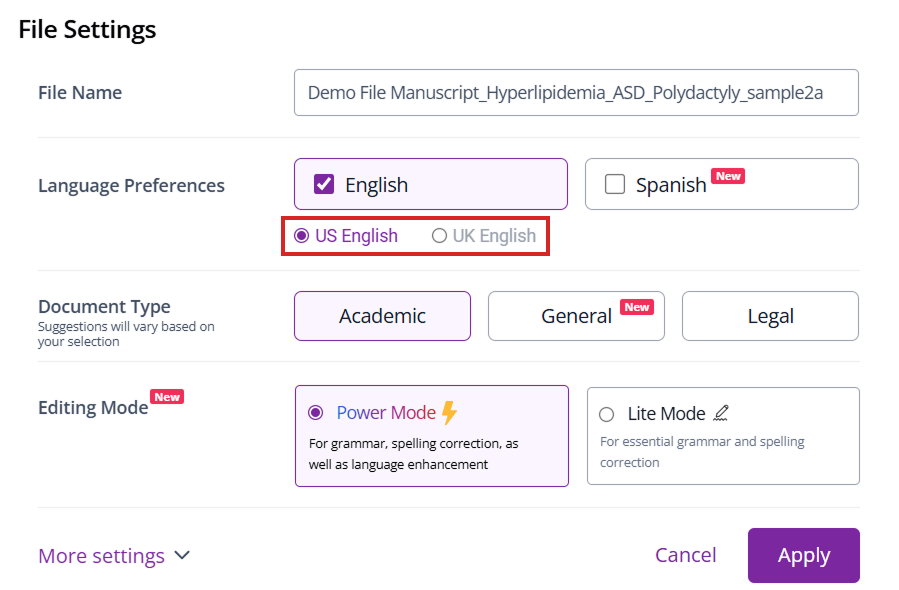
Step 6: You can change the language variant [US/UK] from the dialogue box as shown in the image below:
Step 7: You can select the Editing mode as per your requirement
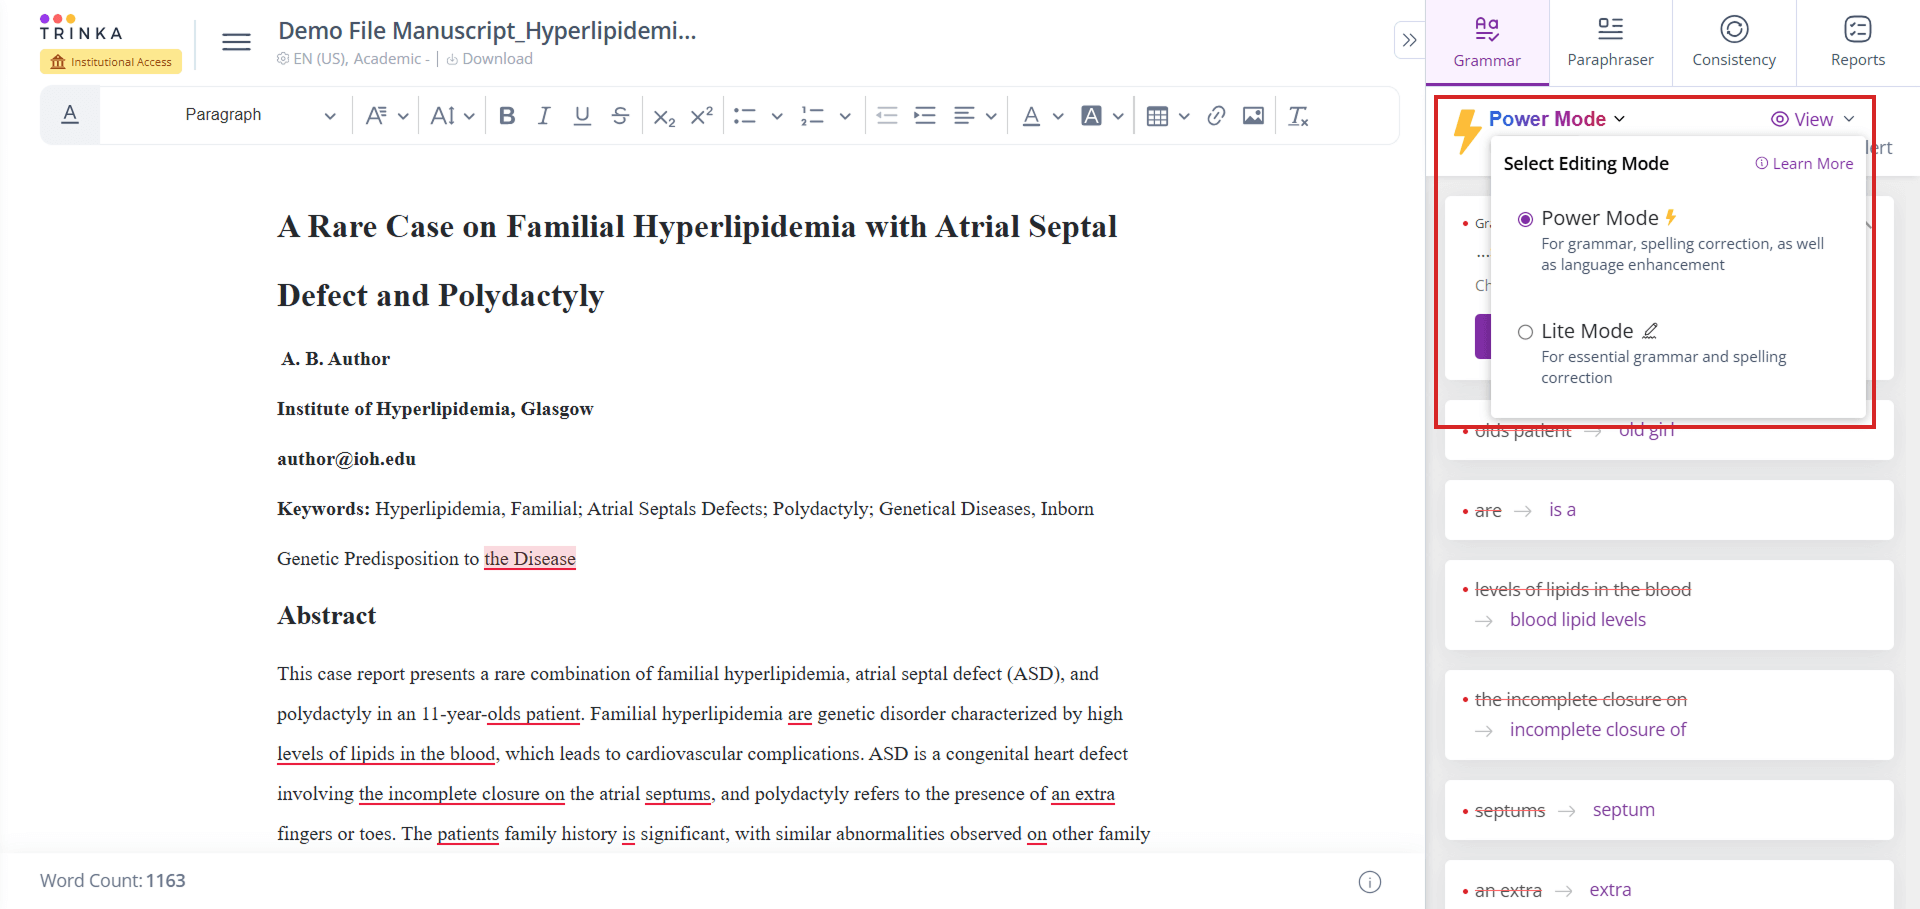
Power Mode
- It corrects your language as well as enhances it with advanced AI suggestions. It also paraphrases the text lightly in order to bring clarity and fluency to your writing.
- When to use: Use Power Mode when you need both corrections and enhancements for your writing, especially if you aim to make your writing clearer, more fluent, and impactful.
Lite Mode
- It focuses on correcting basic grammar, spelling, and punctuation mistakes. It helps keep your writing accurate.
- When to use: Use Lite Mode when basic grammar corrections are sufficient for your needs or you just want to proofread the content.
Edit your file using the Proofread File feature
Trinka’s AI-powered “Proofread file” feature lets you proofread your file in minutes and download an AI-edited document containing suggestions as track changes. You can access this feature as per the below steps:
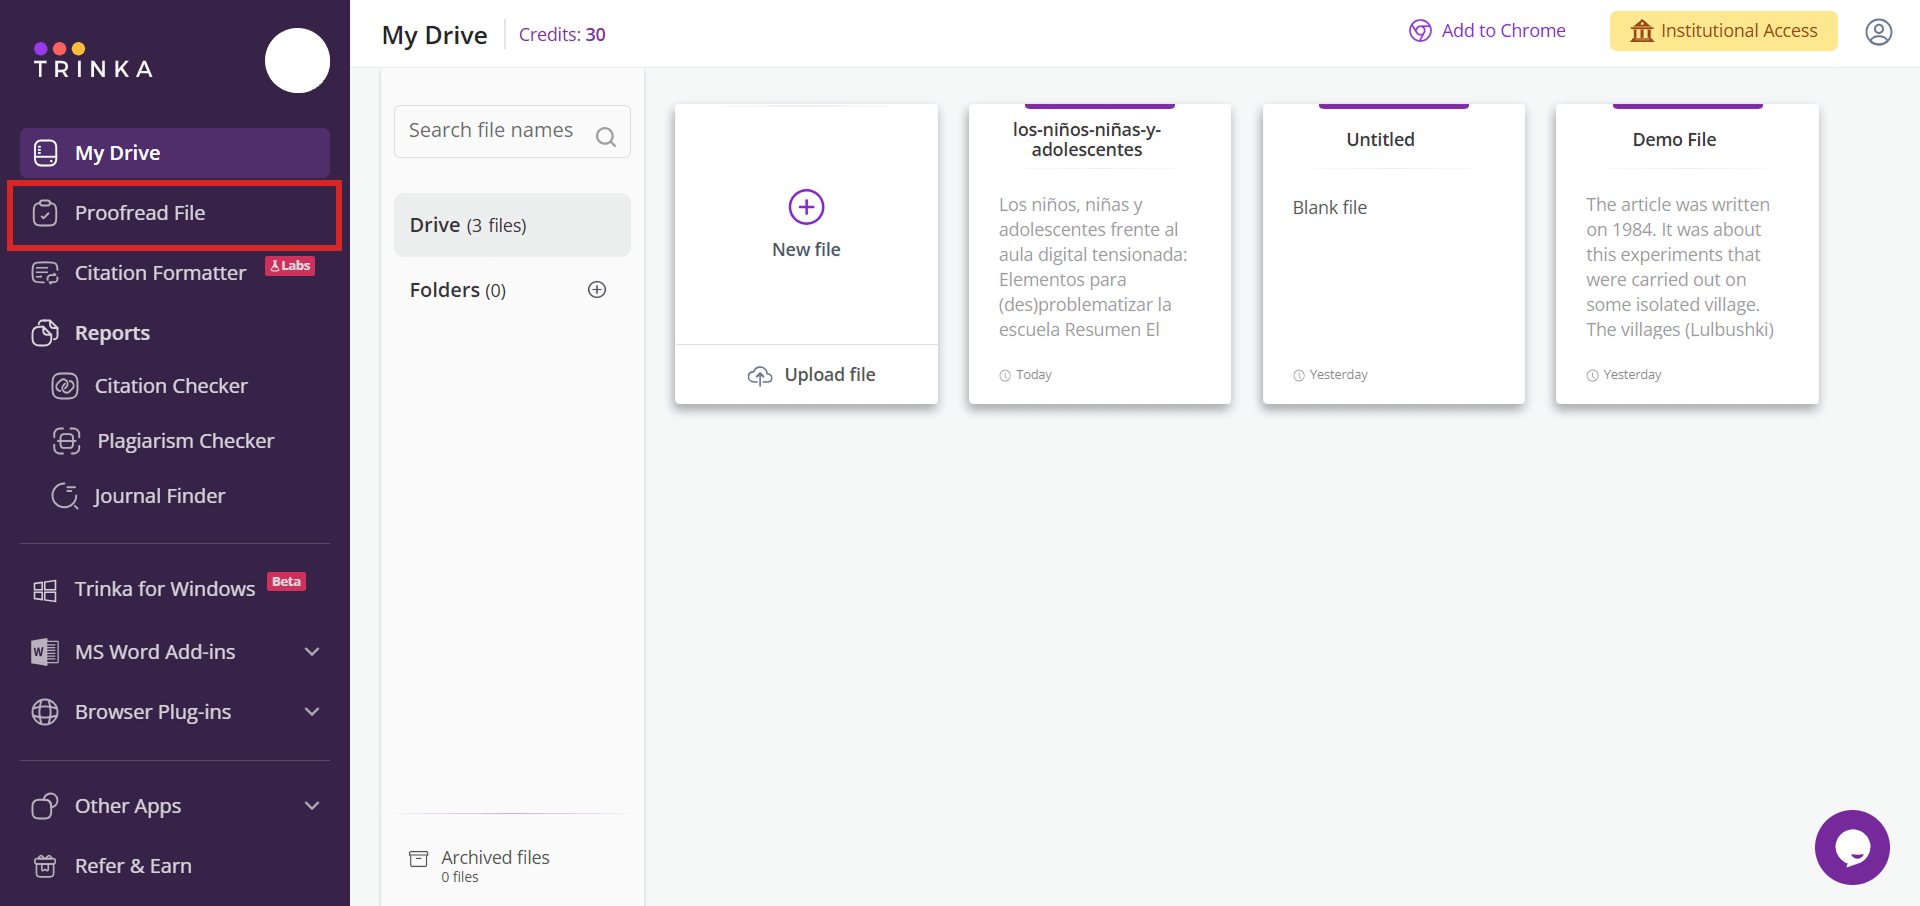
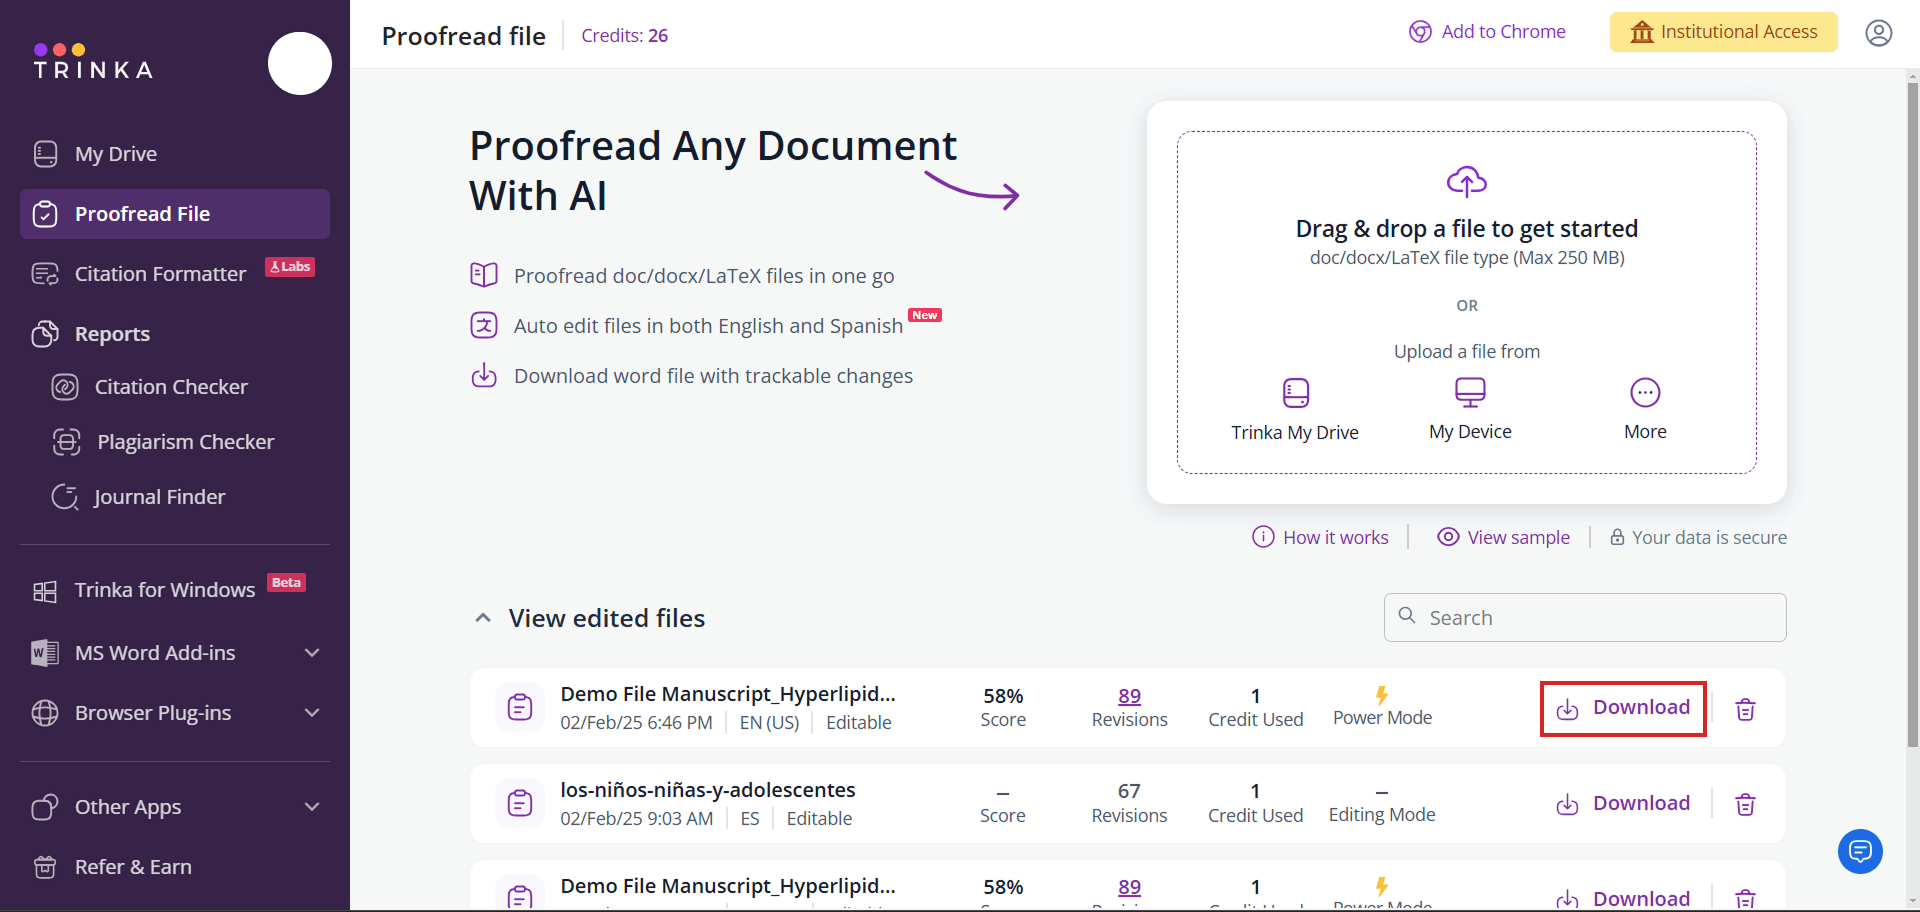
Step 1: Click on “Proofread file” on the left menu:
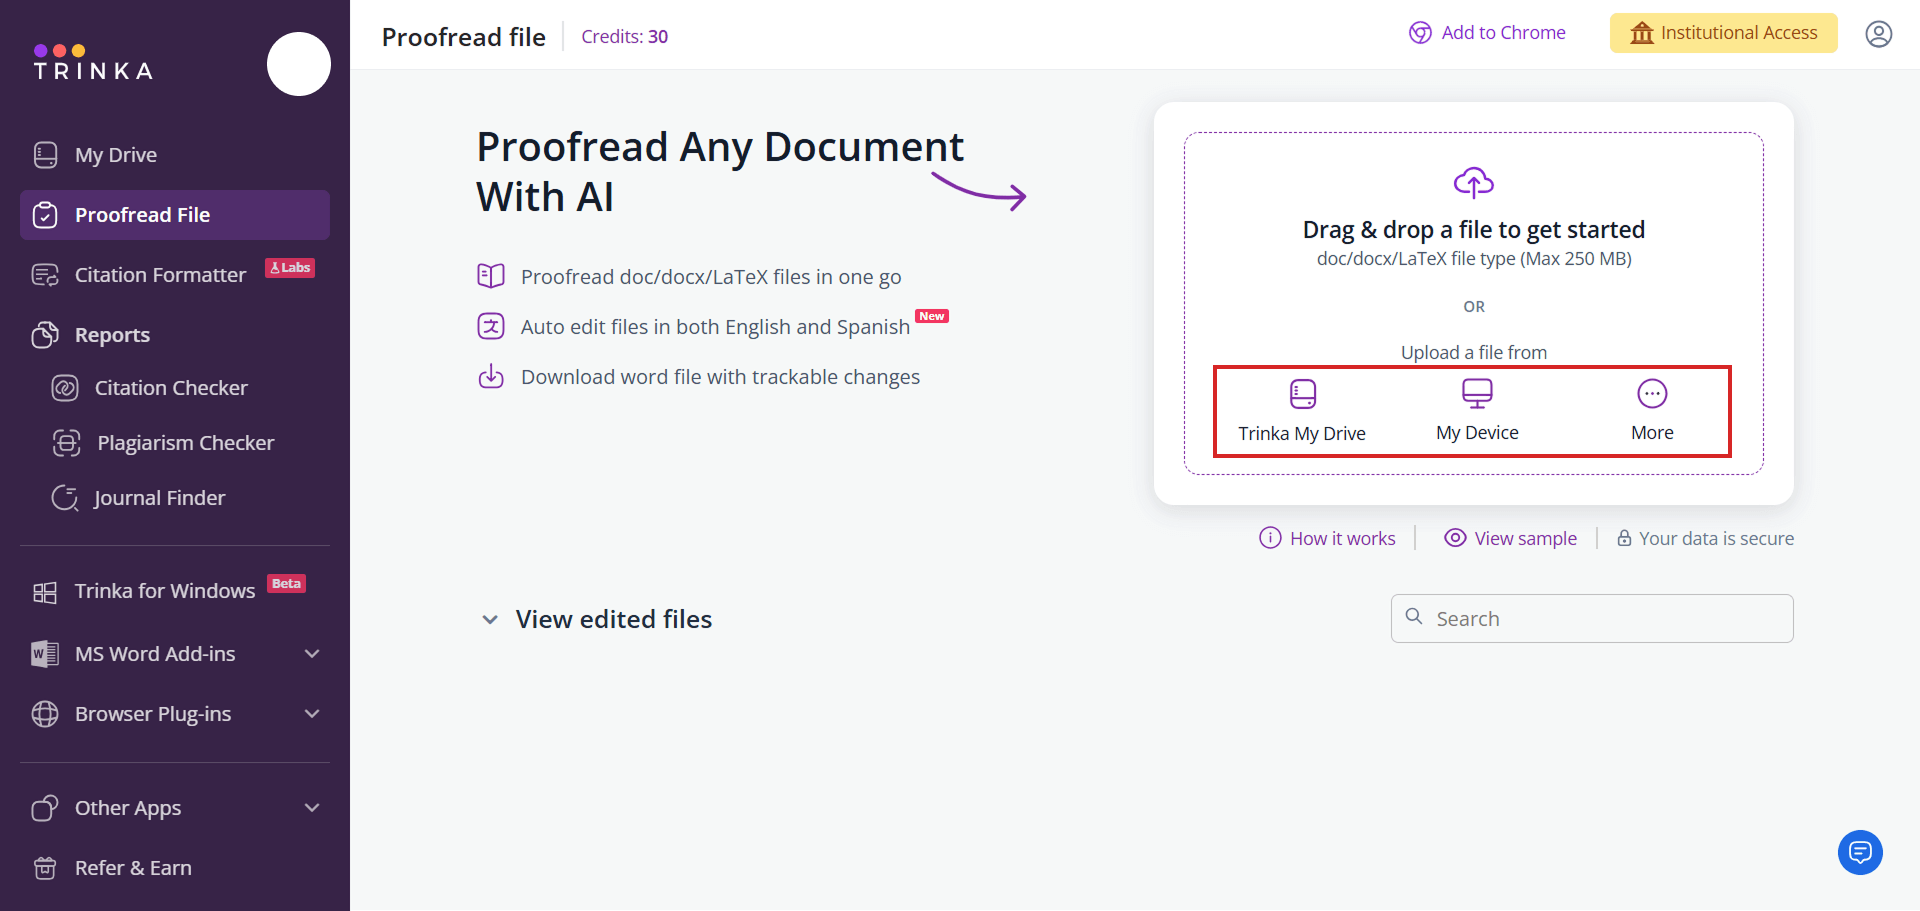
Step 2: You will land on the “Proofread File” page as shown in the image below. To upload your file, you can click on “Trinka My drive”, “My device” or “More” option:
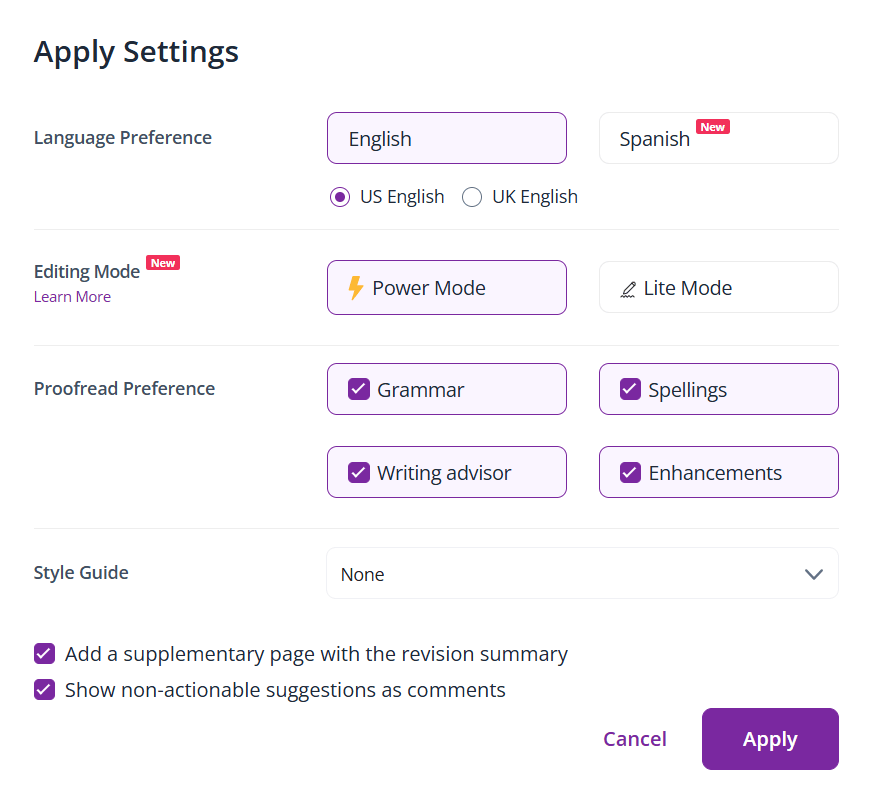
Step 3: Your file gets uploaded, and you will be able to set language preferences, suggestion choices, etc. Click on “Apply” after setting the preferences as per your choice:
Step 4: After clicking on Apply, your settings will be saved and displayed to you. To proceed you can click on “Start Proofreading”:

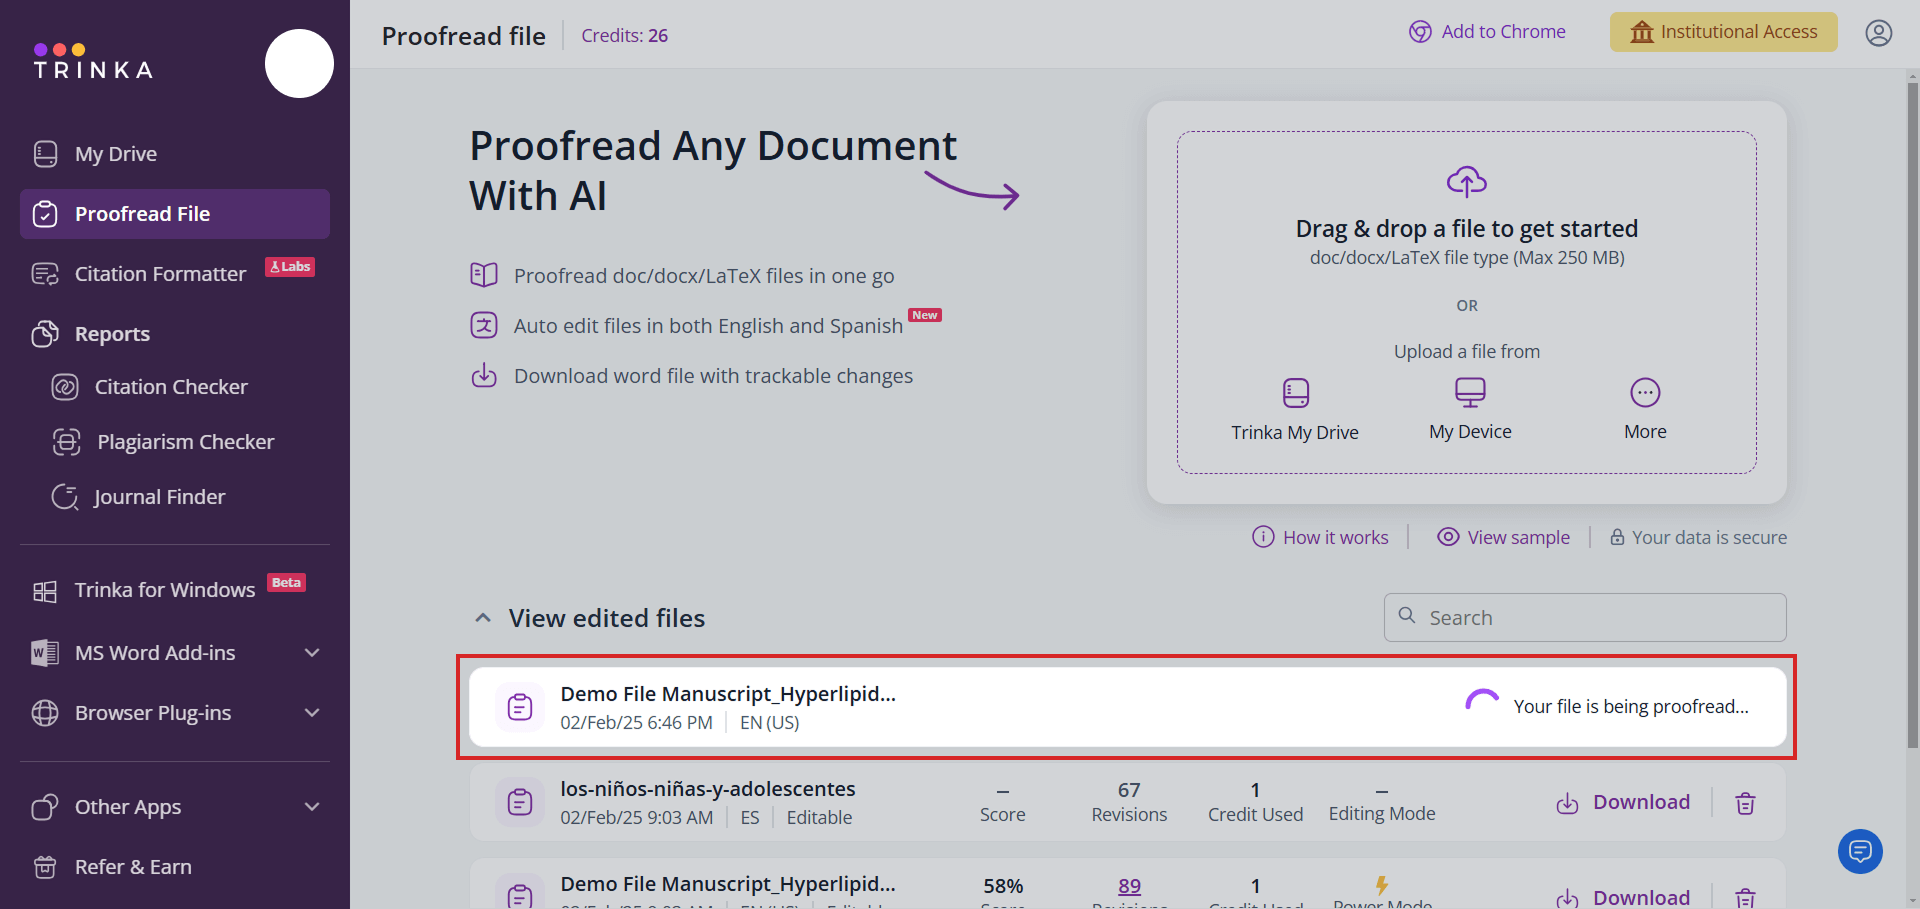
Step 5: After clicking on “Start Proofreading”, your file starts being processed. After completion, you will get a “Download” option. Click on “Download” to get a “track-changed file” with the suggestions:
i) While your file is being processed
ii) When the file gets processed, the “Download” option appears
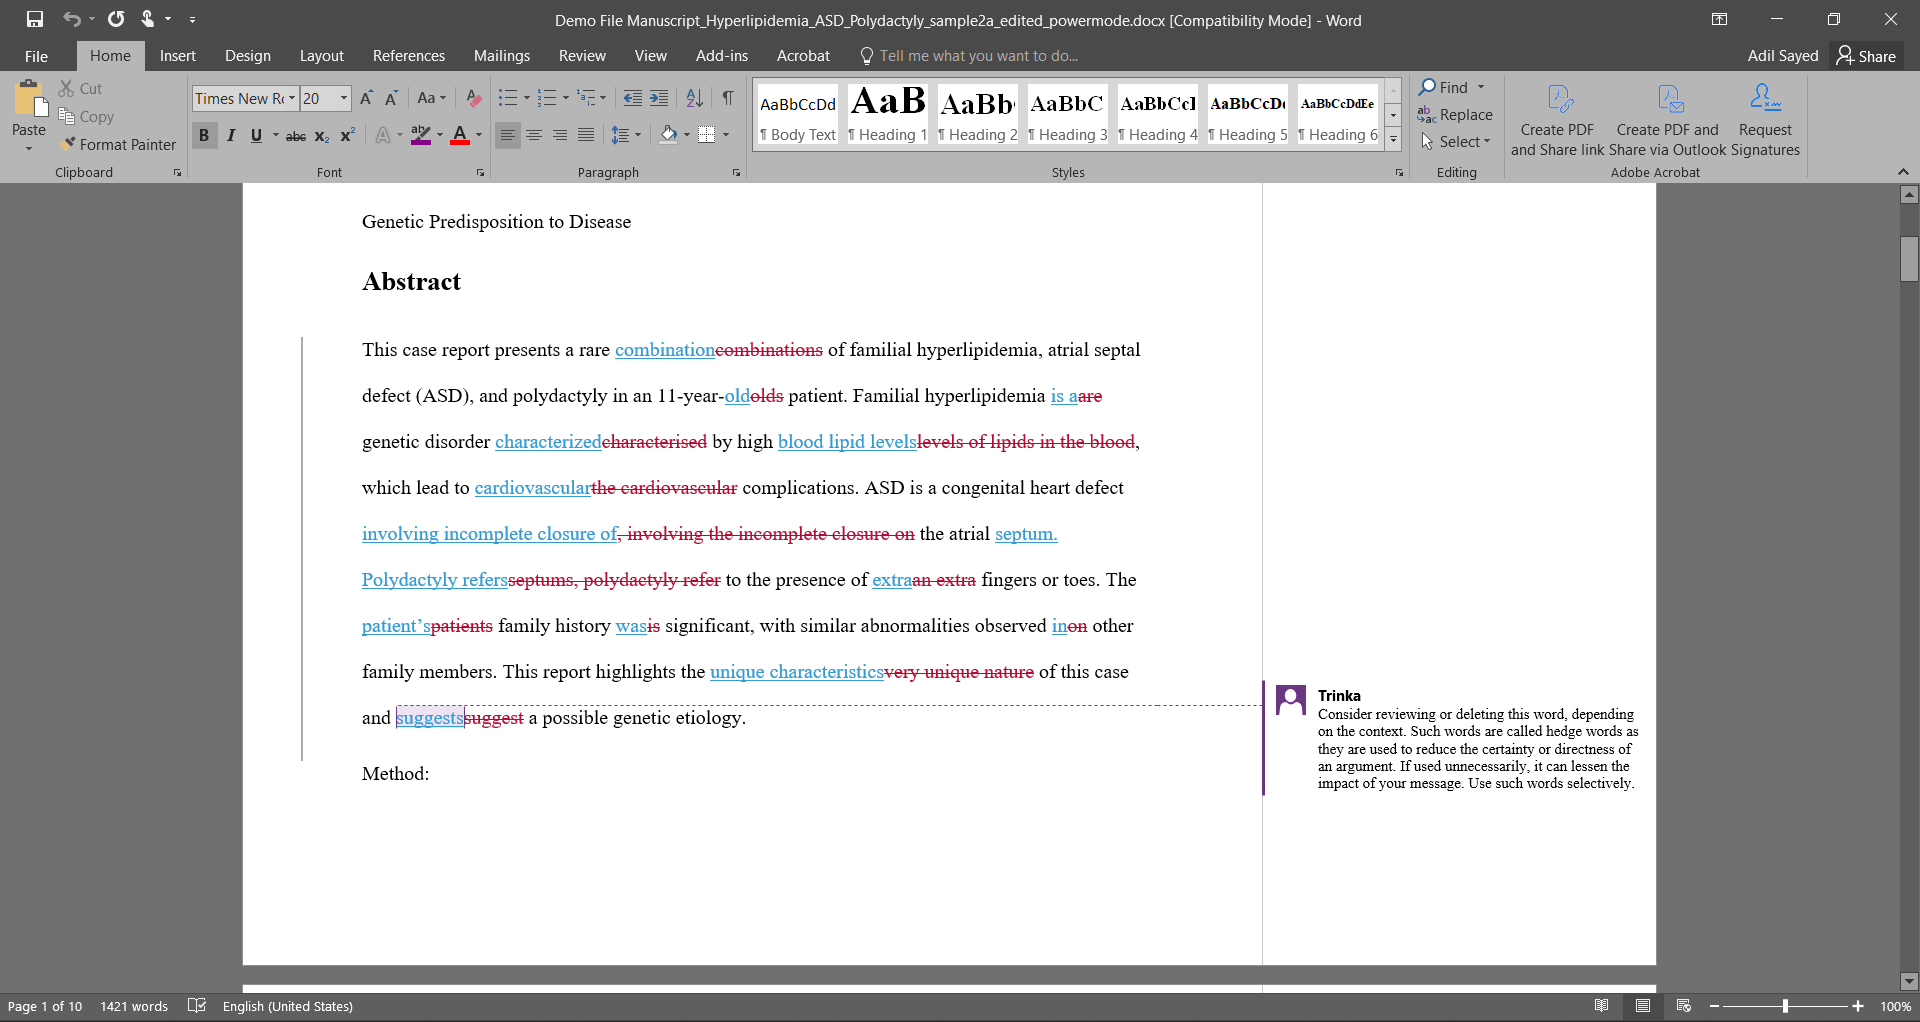
iii) The downloaded file with Track Changes will contain suggestions provided by Trinka AI as comments.
Paraphrase text in your file using Trinka AI
Step 1: After uploading your file, click on the “Paraphraser” option on the right panel:
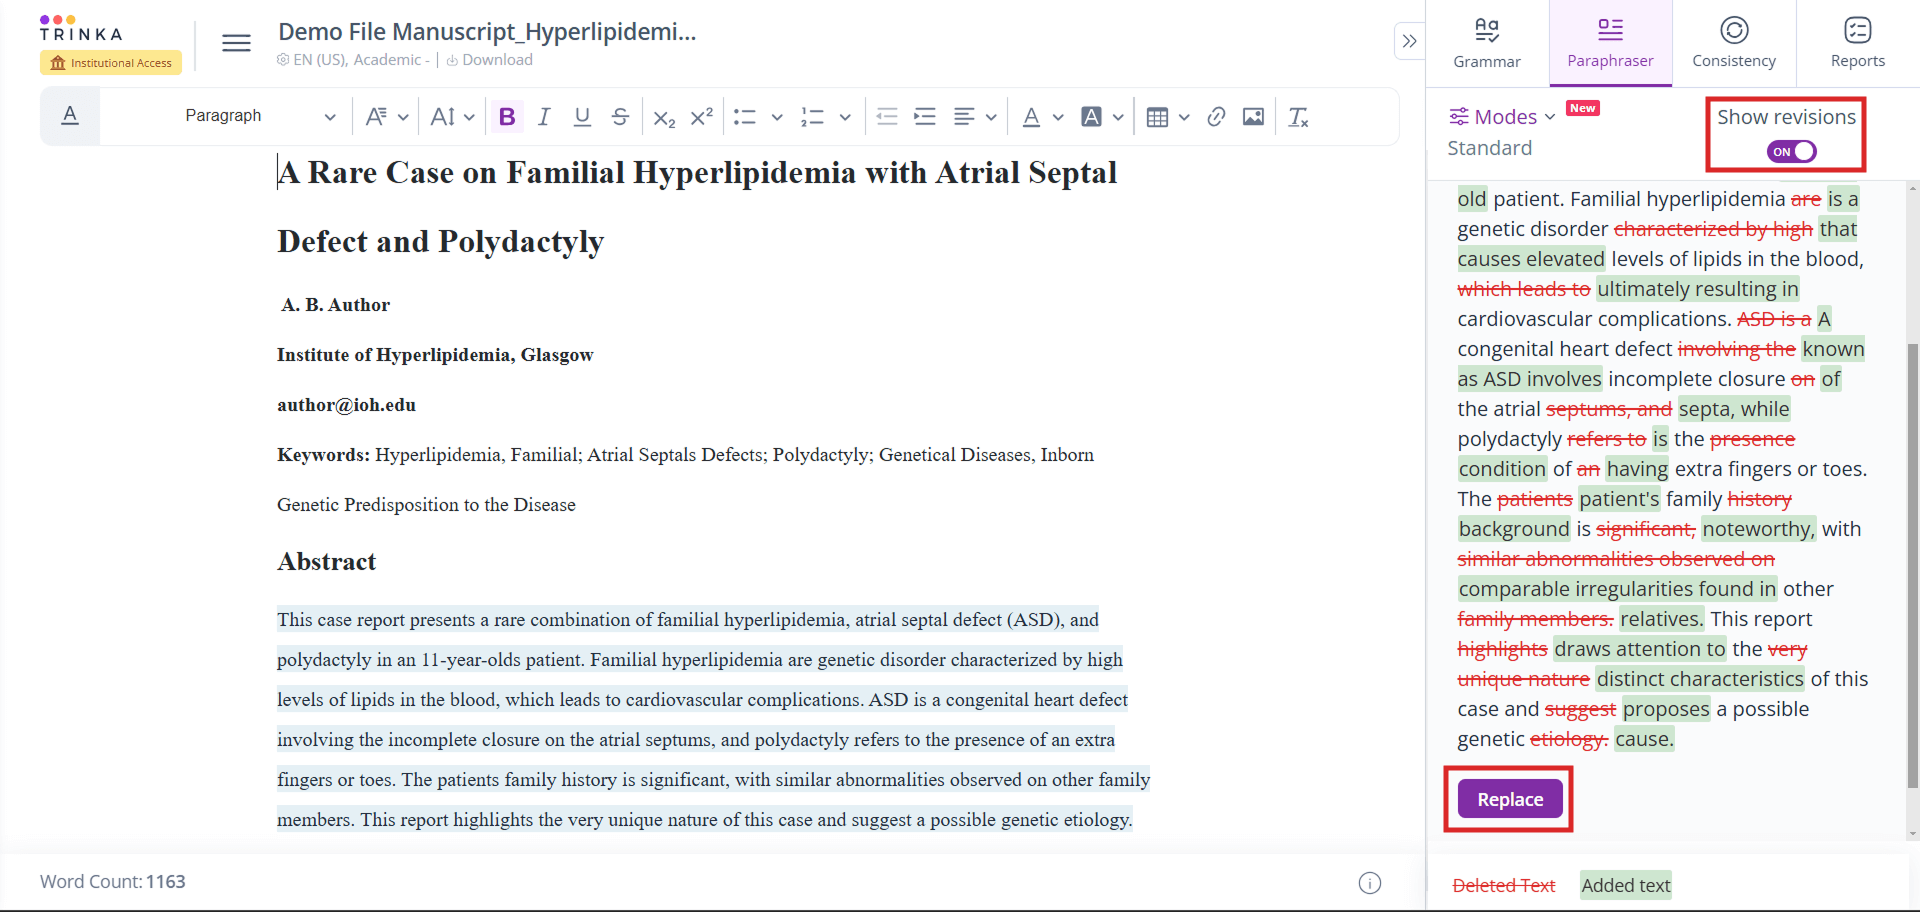
Step 2: Select text from your file and click on the “Paraphrase” button
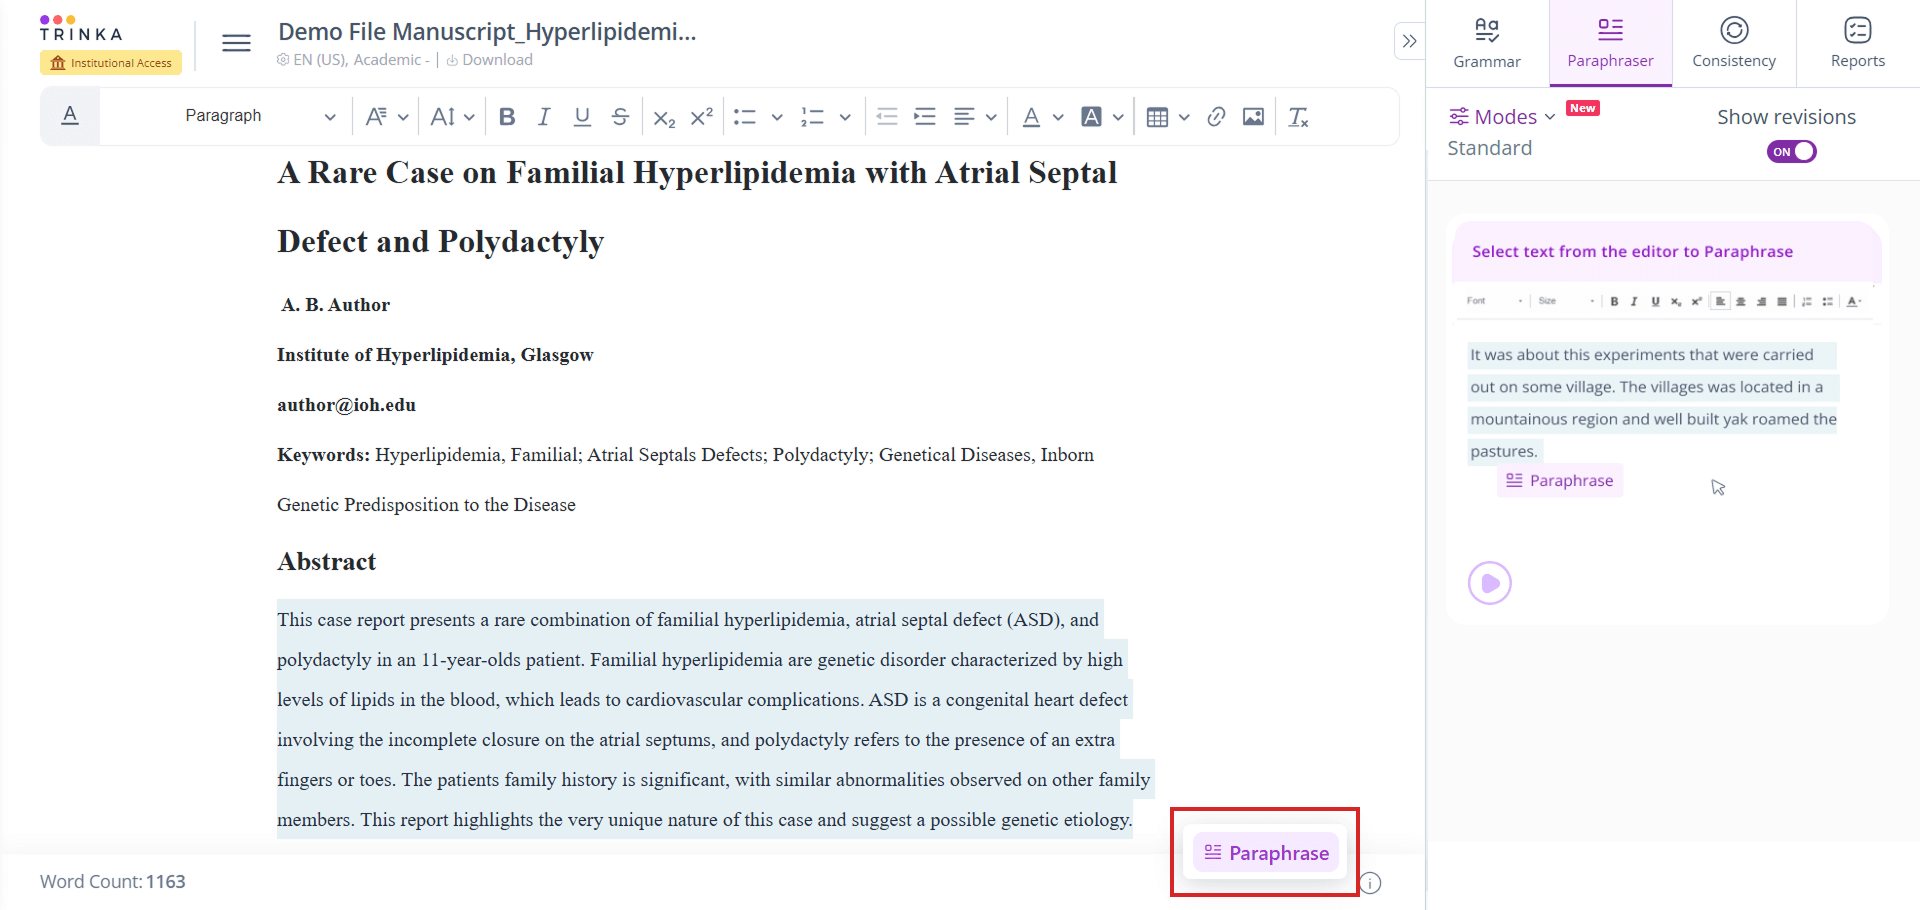
Step 3: You will be able to see the paraphrased text on the right. Click on replace to replace the original (selected) text. You can choose to hide the changes and also set a degree of change from “Low” to “High”
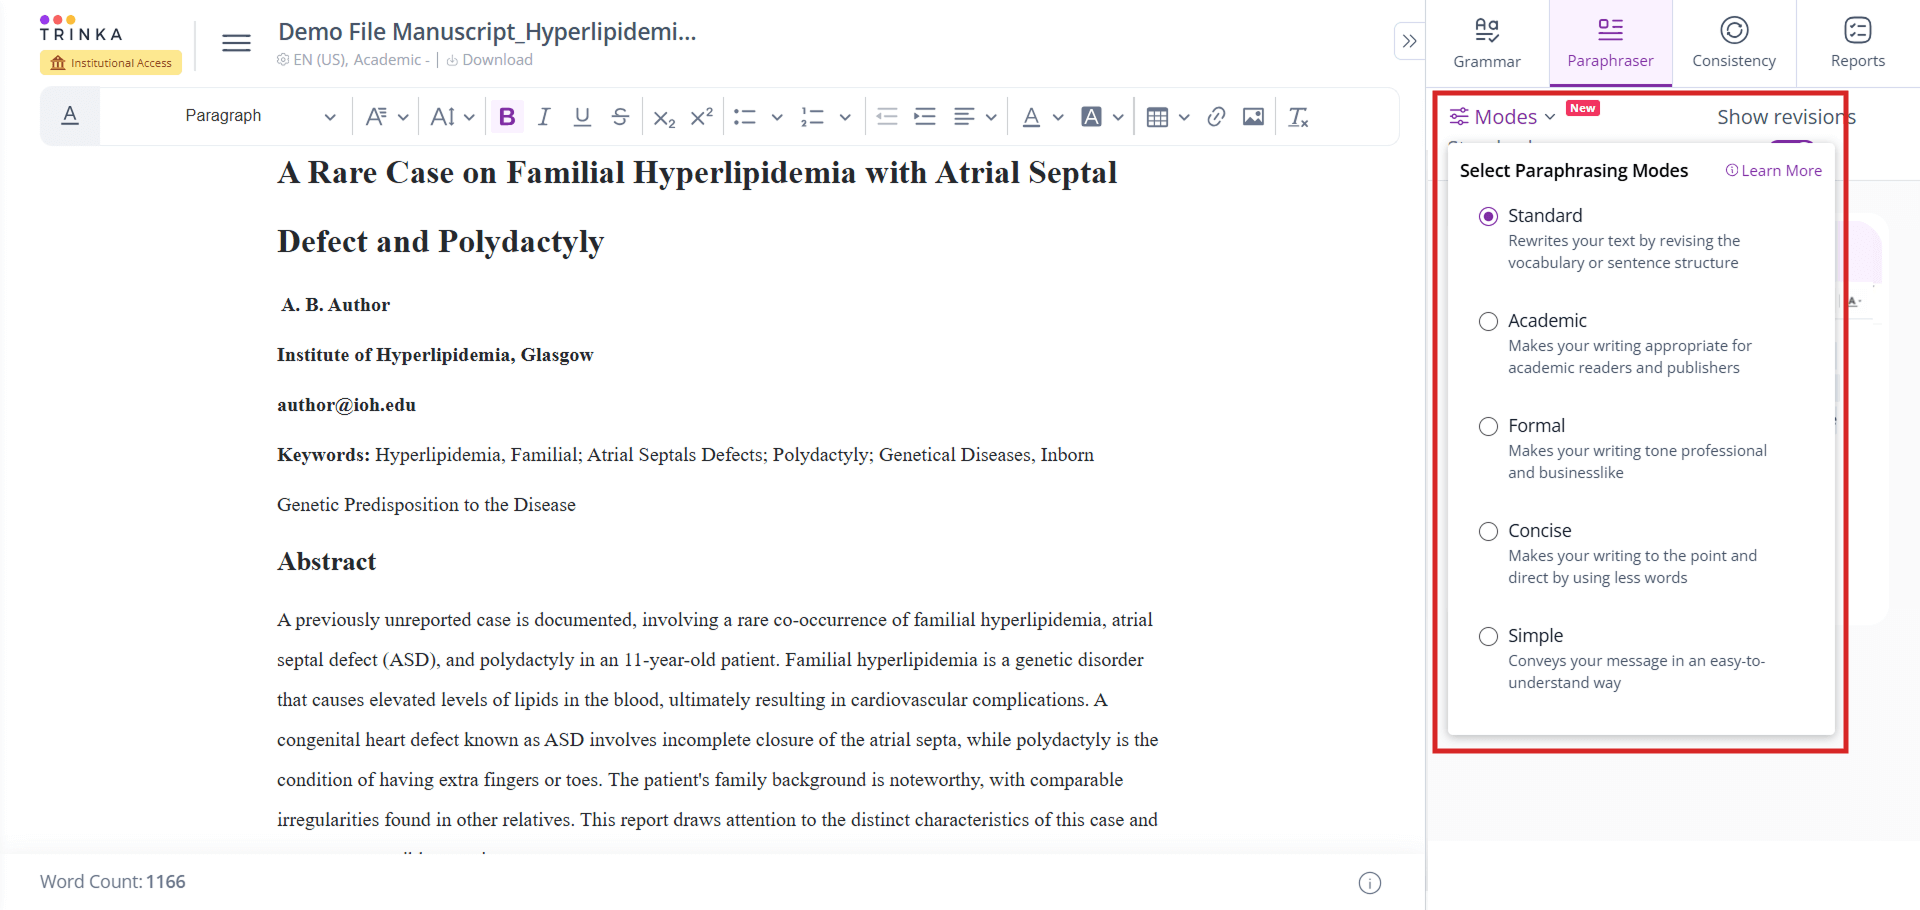
Step 4: You can select the Editing mode as per your requirement
How to install Trinka Plugins/Addins
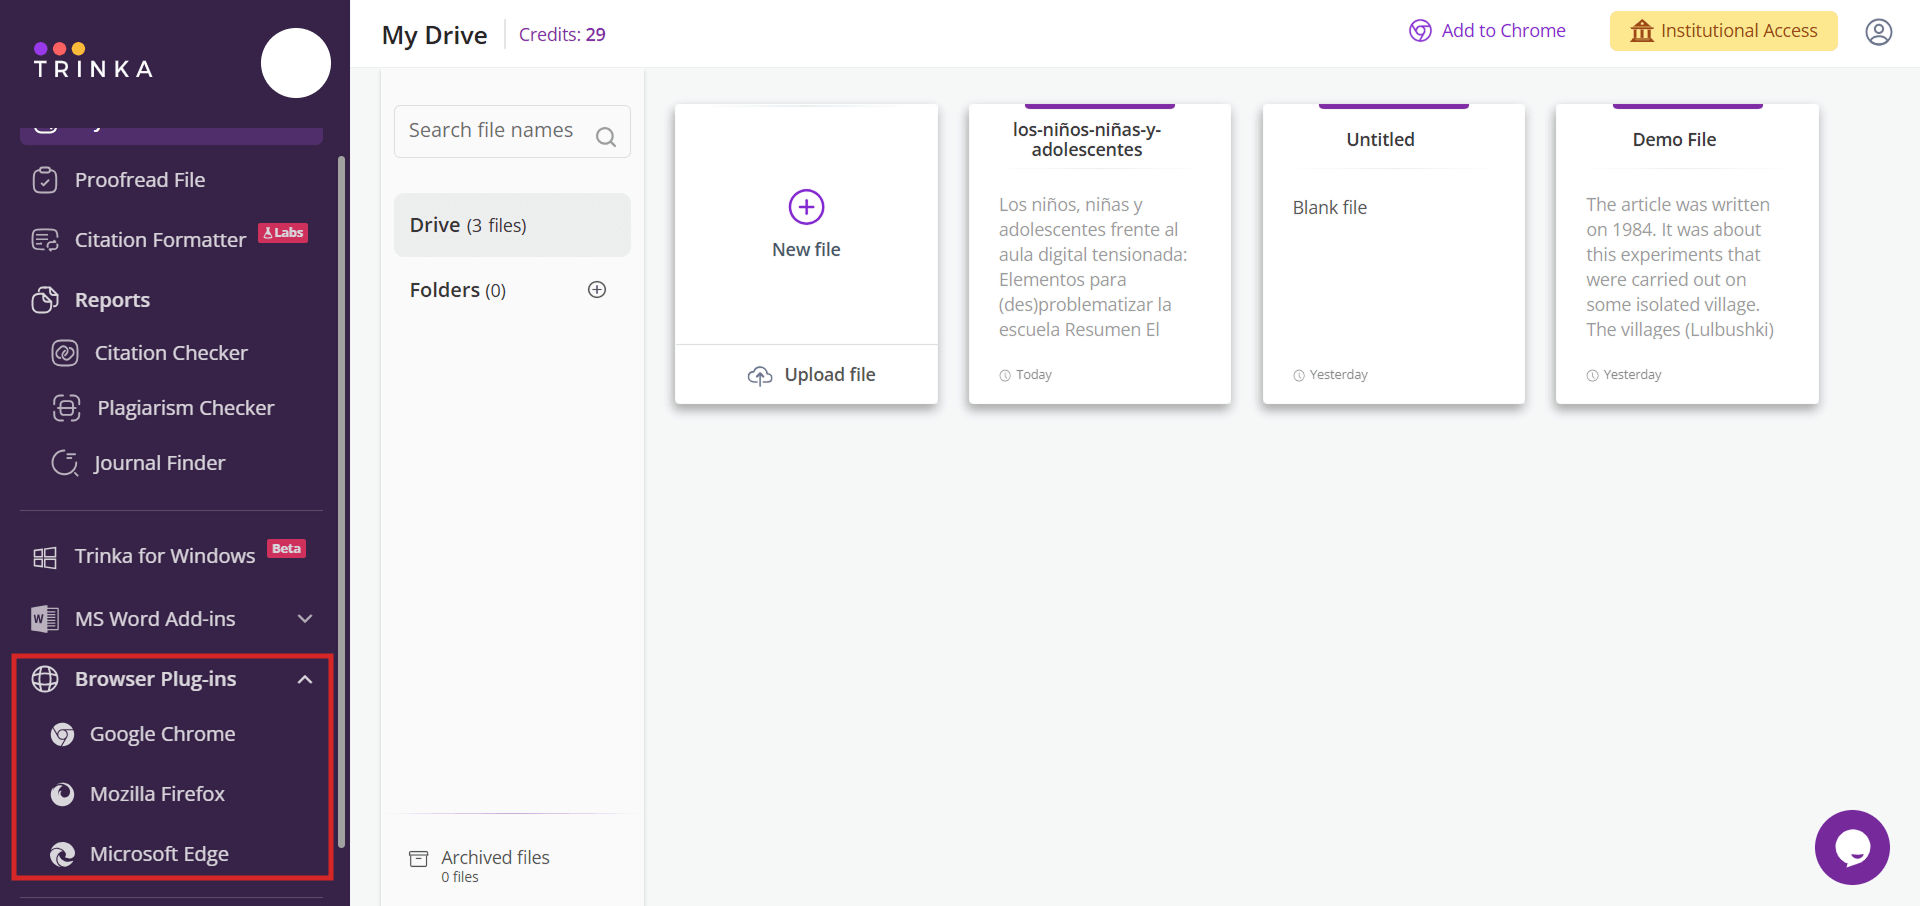
Trinka AI is available as MS Word Addins and plugins for popular browsers such as Google Chrome, Mozilla Firefox, and Edge. You can install them by clicking on the options highlighted in the image below:
Step 1: You can install the plugin for the specific browser by clicking on the respective option for your browser.
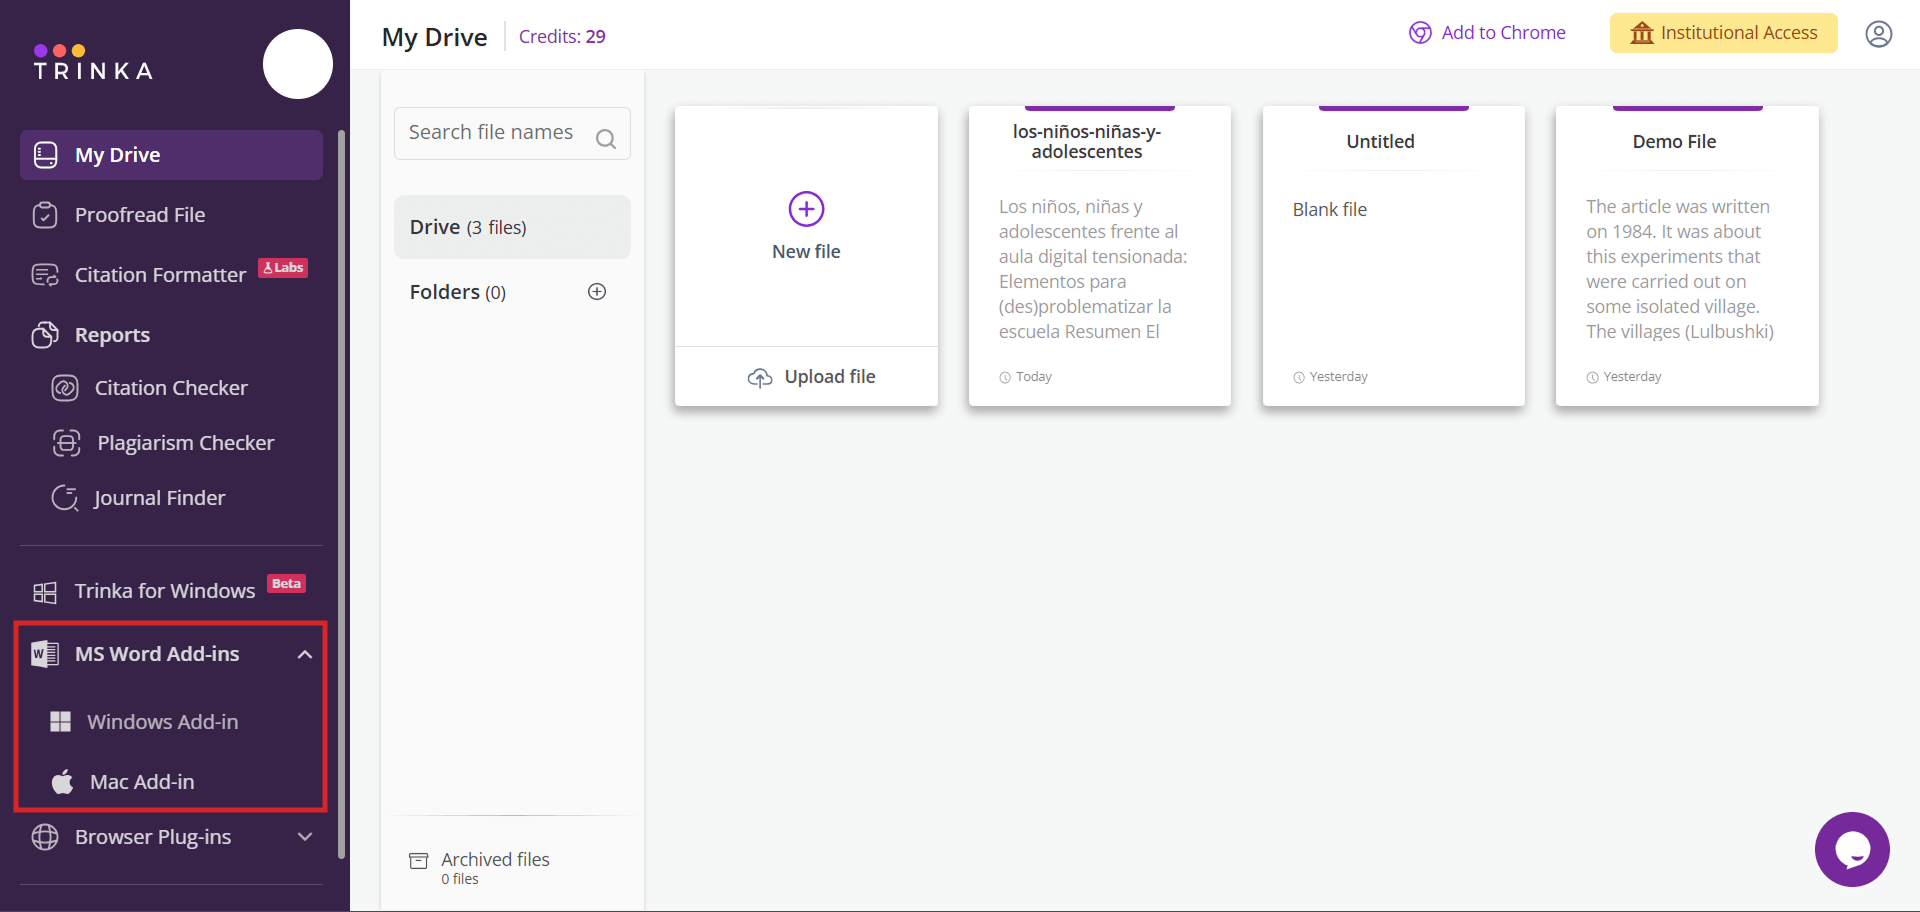
Step 2: You can install the Word Add-in for Windows and Mac by clicking on the respective option.
How to generate AI Content Detector reports
To use ‘AI Content Detector’ Reports, please follow these steps:
Step 1: Visit the website
Go to https://www.reports.enago.com/
Step 2: Log In
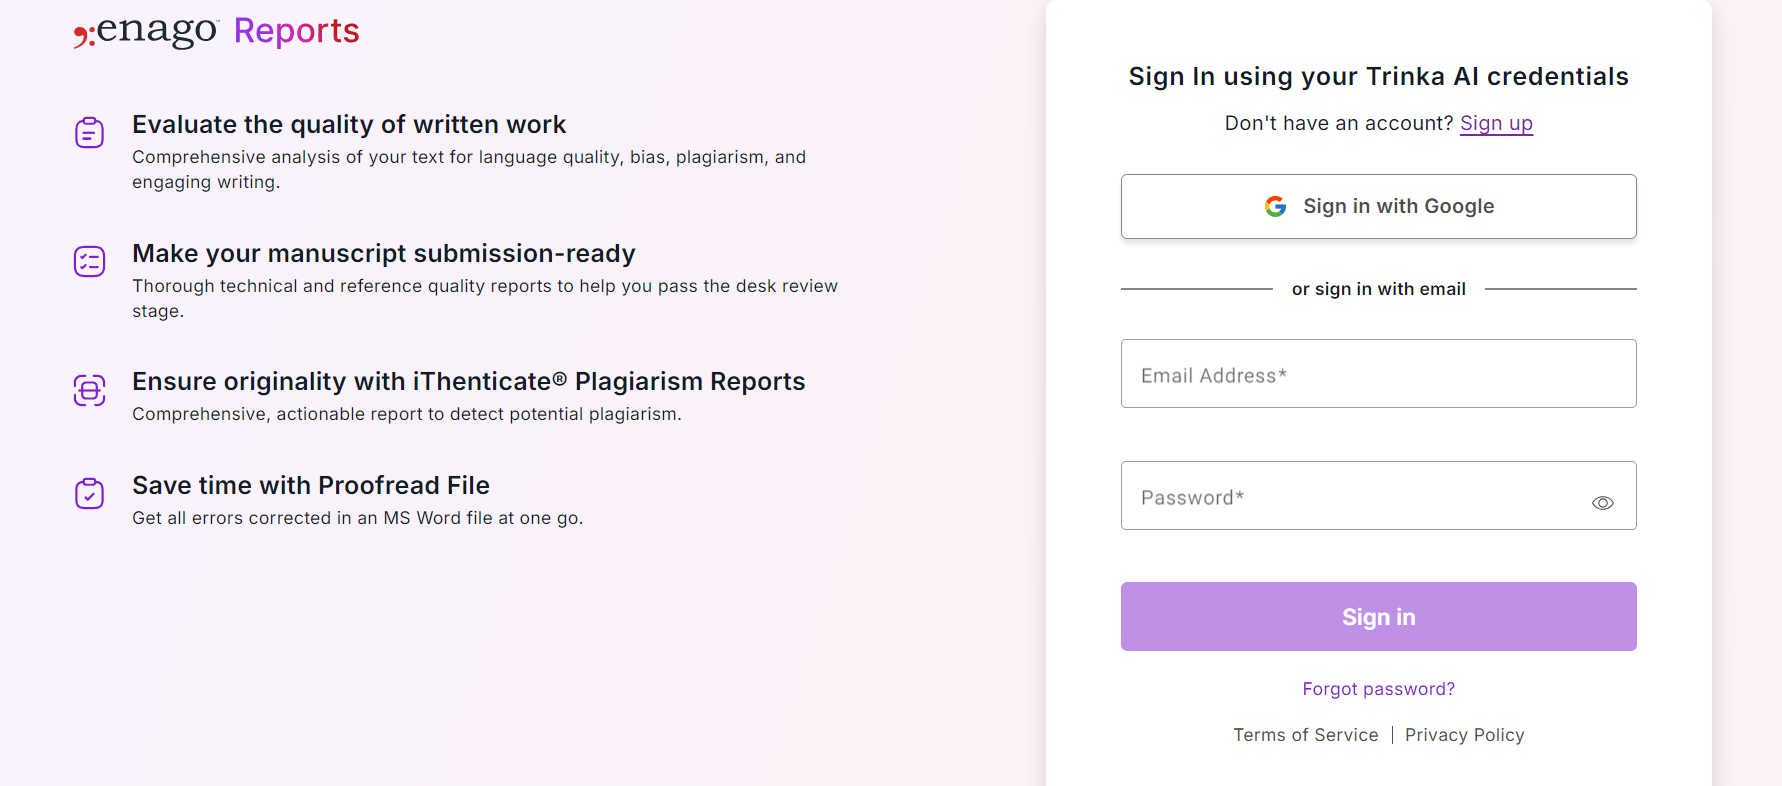
Click on the ‘Login’ button located on the webpage.
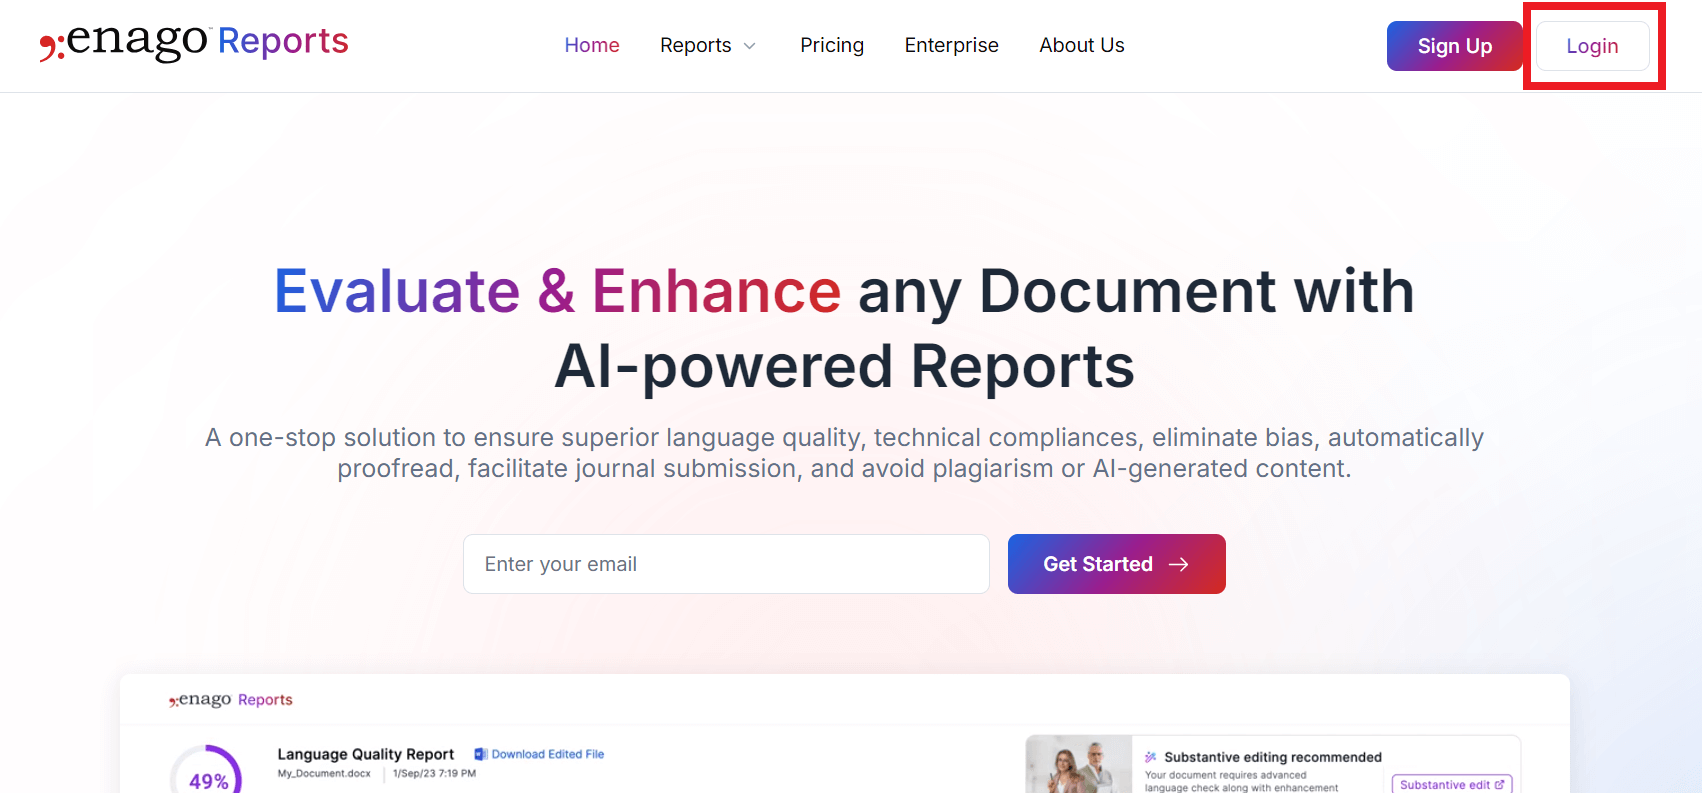
Use your existing Trinka account credentials to log in.
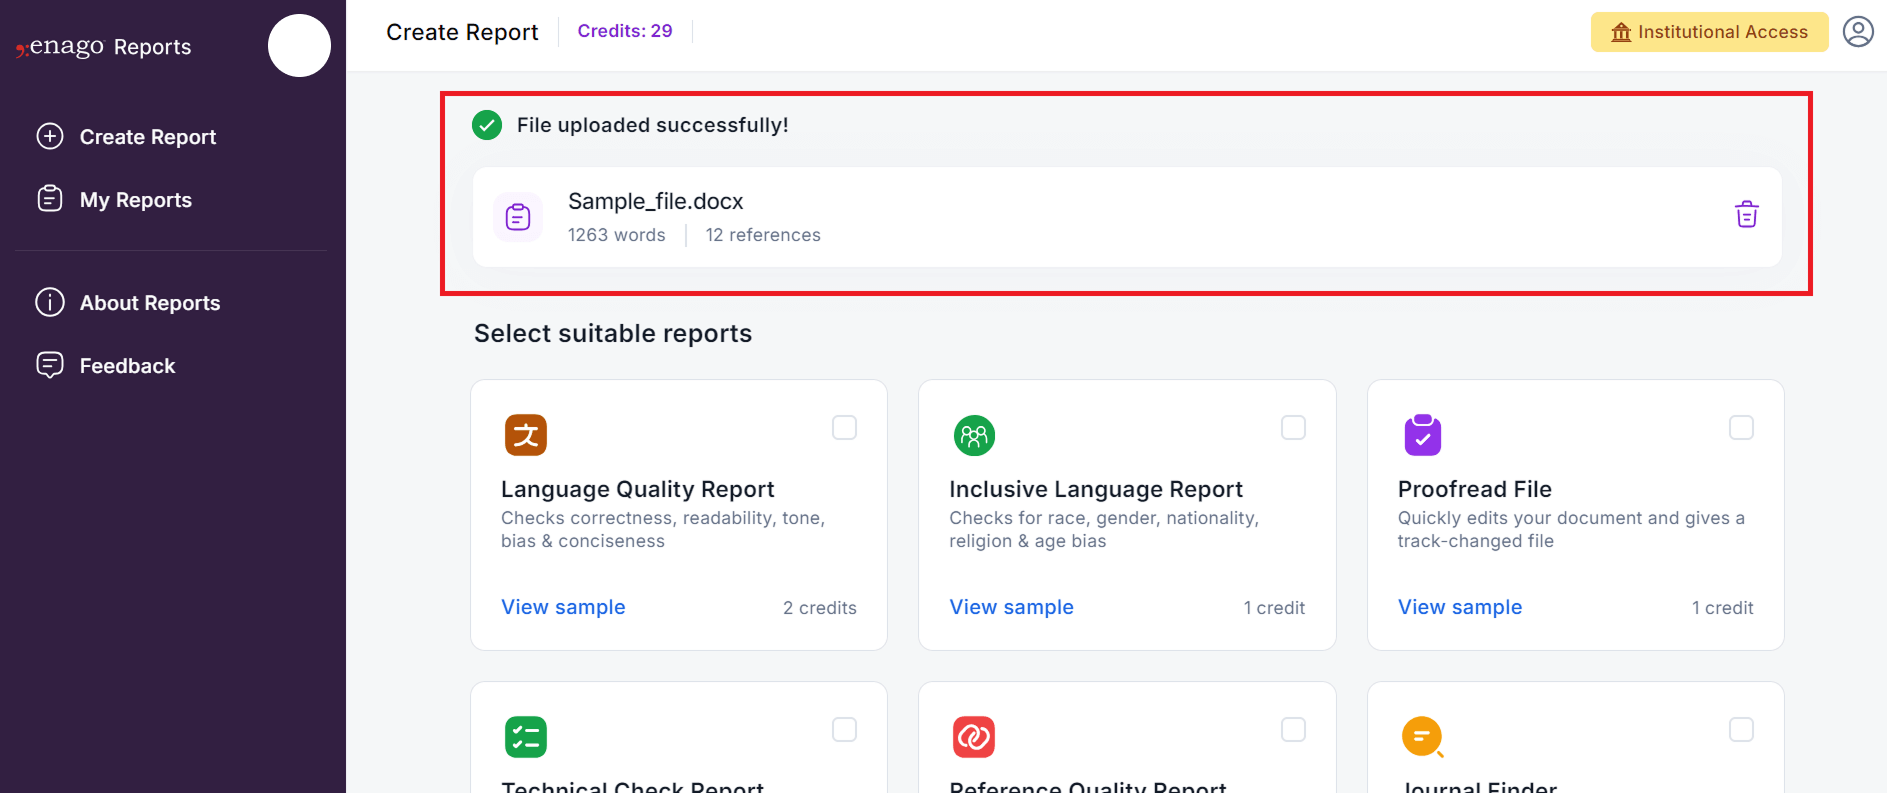
Step 3: Upload your document
Once logged in, upload a document in .doc, .docx, or .pdf format using the options provided.

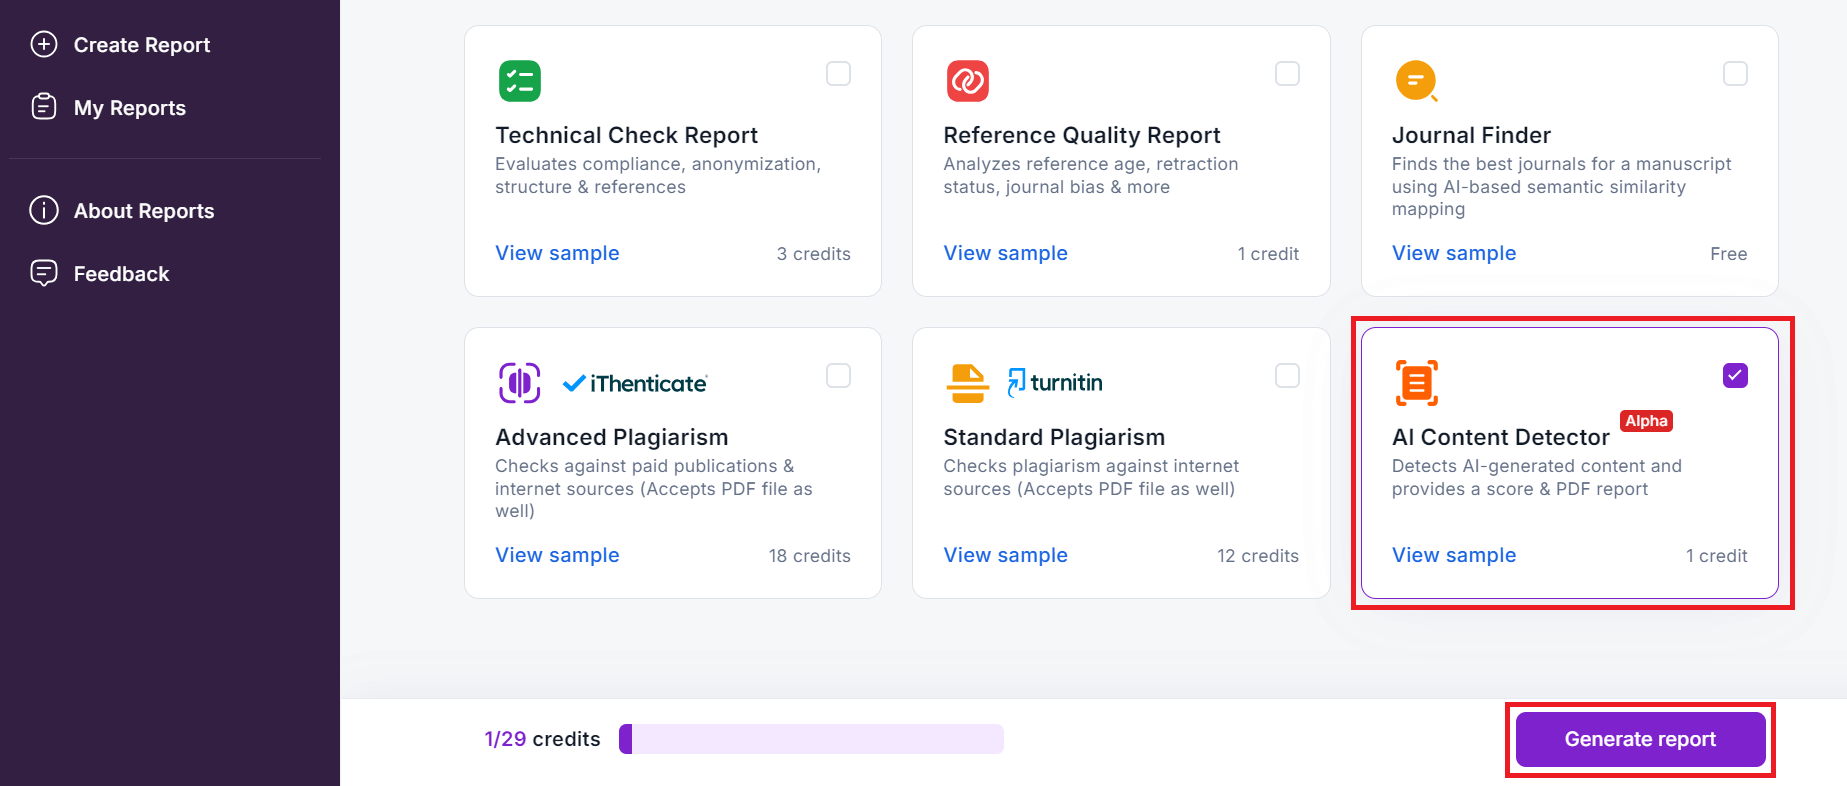
Step 4: Generate the Report
After successfully uploading your file, select the “AI Content Detector Report Card” and click ‘Generate’ to create the report. Please note that 1 credit will be deducted for every 5,000 words processed.
Step 5: Download the Report
The generated report can be downloaded from the “My Reports” section.

Additional Notes
1.Trinka AI now supports the Spanish language for its Grammar Checker, Paraphrasing, and Proofread features.
2.More information about how to use Trinka is available at Trinka YouTube Playlist
3.In case of any technical, usage, or any other difficulty please approach our helpdesk at support@trinka.ai
4.Use your Trinka credentials to access Enago Read (https://www.read.enago.com/) and Enago Reports (https://www.reports.enago.com/).