Privacy-first AI Writing Assistant
Grammar and Writing Done Right
Trinka is an online grammar checker and language correction AI tool for academic, technical, and formal writing that protects your private data.
Trusted by Global Leaders
Your Writing is Personal – Keep it Private
Trinka’s Grammar Checker prioritizes your data privacy while enhancing the clarity and impact of your writing. With advanced AI and robust security features, write confidently knowing your data is under your control.
English
Spanish
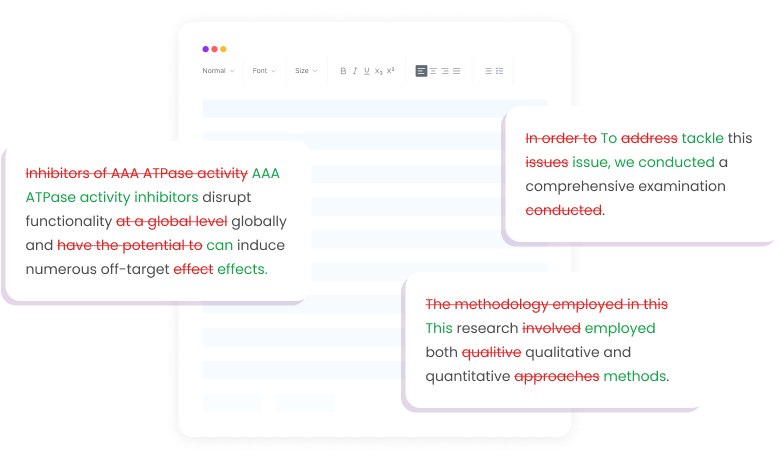
Trinka’s Grammar Checker covers everything from word choice, usage and style, and word count reduction to advanced grammar checks for English and Spanish texts.
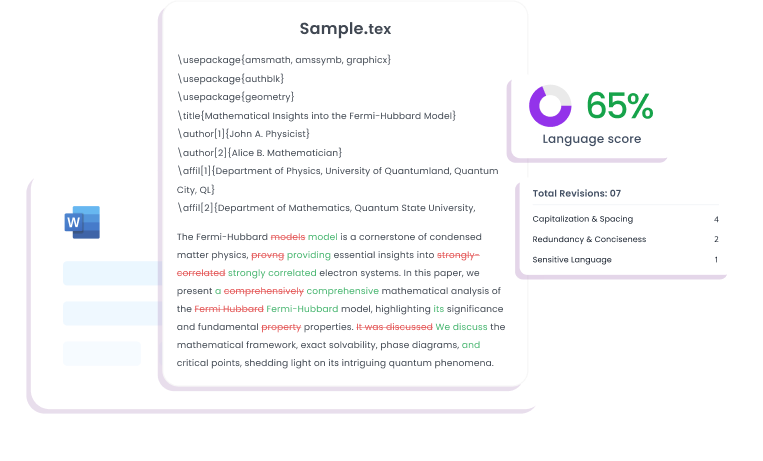
Proofread entire English or Spanish document in MS Word with Trinka. Retain original formatting, get a language score, apply style guide preferences, and download your file with track changes.

Eliminate grammar errors in your LaTeX document without impacting your TeX code. Get a language quality score along with instant corrections, track changes.
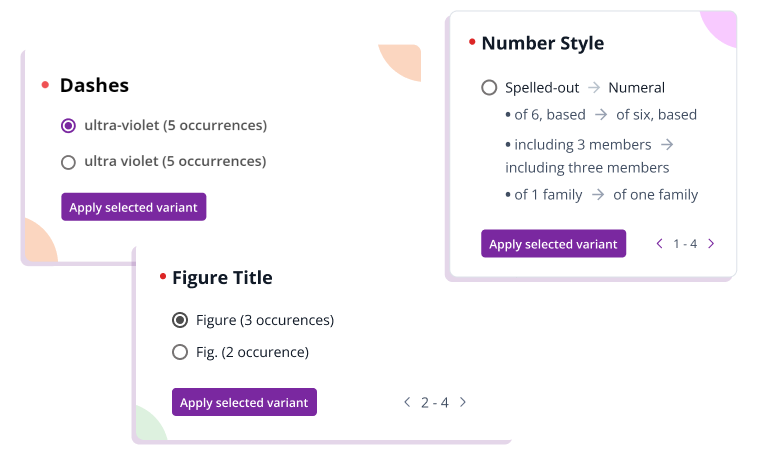
Trinka identifies several inconsistencies in your English and Spanish content like spellings, hyphens and dashes, characters with accent, and more to make your writing look professional.
Make Your Writing Unique

 Paraphraser
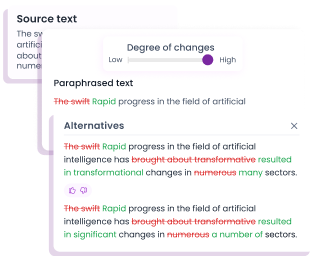
Experience enhanced clarity in your writing using Trinka's Paraphrasing tool, designed to provide coherent paraphrases while preserving the original meaning. Available for English and Spanish
Explore
 Plagiarism Checker
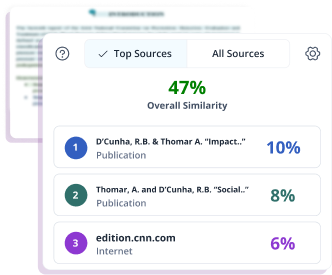
Get access to market leading Plagiarism checker at a competitive price. Scan your document in the largest database (includes paid content from all top publishers) in the world.
ExploreWriting is Now Easier Than Ever
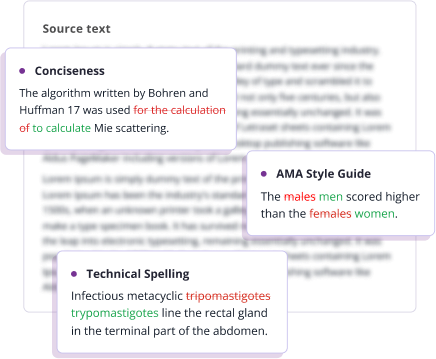
Academic and Technical Writing
Trinka finds difficult errors unique to academic writing that other grammar checker tools don’t. From advanced English grammar errors to scientific tone and style, Trinka checks it all!
Formal Writing
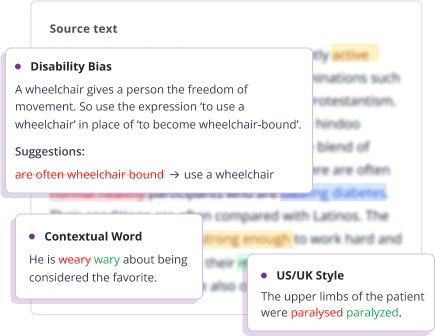
Trinka streamlines your writing by identifying grammatical errors, analyzing sentence structure, suggesting optimal word choices, and ensuring adherence to both US and UK English styles.
Safe, Secure, and Trusted
Trinka puts data safety and privacy at the forefront. All your data is strongly encrypted and securely stored - no one else has access to your data. You can delete your dashboard data at any-time.
The data of premium users is automatically deleted from all systems every 90 days. To further enhance security and meet compliance requirements, various options, such as Confidential Data Plans, offer additional features to safeguard your private data.

Trinka for Enterprise
Easily integrate Trinka for Enterprise into your workflow. Customize Trinka to match the specific requirements of your company. Multiple partnership & pricing models available.
Data Security
Meet your compliance and data security needs with Trinka Confidential Data Plan.
Custom Style Guides
Get customized style guide as per your organization style rules.
API
Integrate our enterprise grade API into your application.
Testimonials
Frequently Asked Questions
Good grammar ensures clarity, professionalism, and accuracy in your writing. It helps convey your ideas effectively, particularly in academic and technical contexts where precision is critical. Using a grammar checker can help you identify and correct errors, ensuring your writing maintains a high standard.
You can check your grammar online using Trinka AI grammar checker tool. Simply paste your text into the editor or upload your document, and Trinka will automatically highlight and suggest corrections for grammar, punctuation, and academic style improvements.
Yes. Trinka offers a Microsoft Word add-in and browser extensions that allow you to receive real-time writing suggestions directly as you write, across platforms.
Yes, Trinka offers a free plan that includes advanced grammar and language checks. You can start using Trinka without any cost and upgrade for access to premium features like advanced grammar checks, plagiarism checks, confidential data plan, word add-in, and more features.
Trinka is designed for students, researchers, academics, and professionals who need formal and technically sound English and Spanish. As an advanced grammar checker, it is especially helpful for those writing research papers, theses, reports, or other academic and technical documents, ensuring precision and correctness in every sentence.
Trinka uses enterprise-grade security and encryption to protect your content. Your documents are processed securely and handled with complete confidentiality.


